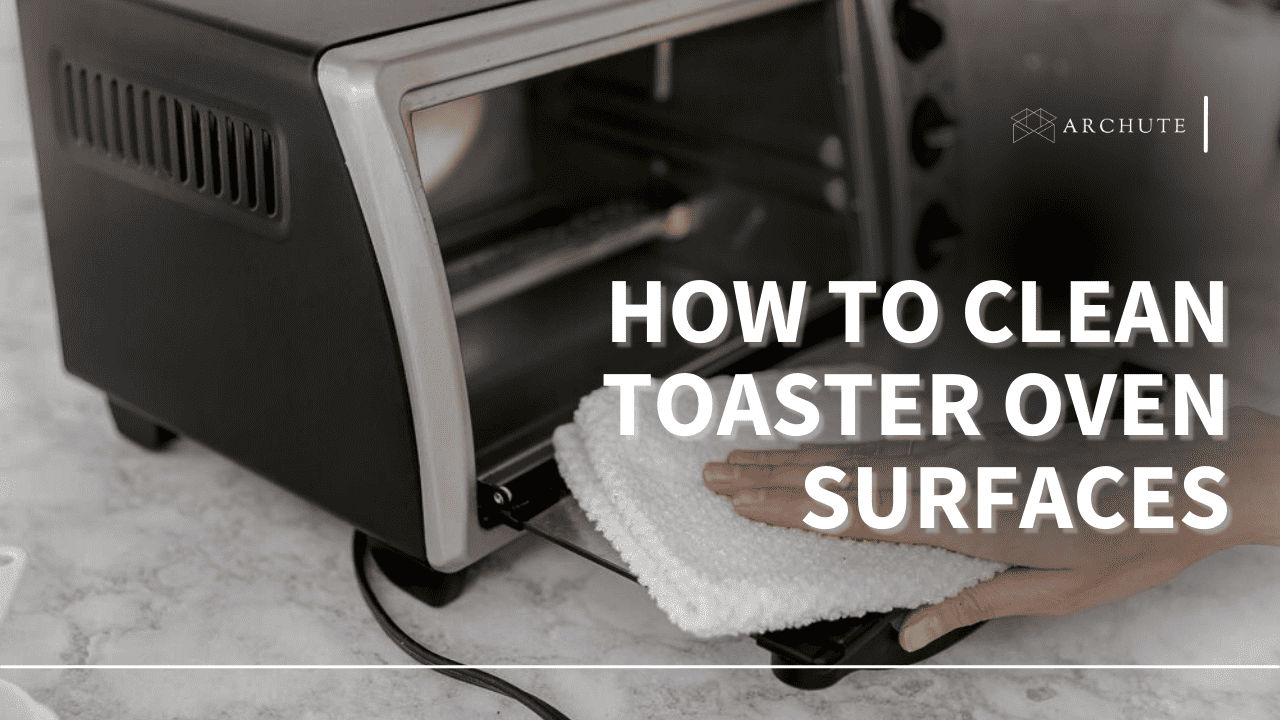
A toaster oven is one of those ingenious kitchen appliances that can do a wide range of cooking, drying, roasting, toasting, reheating and baking. Moreover, as a tabletop appliance, it is good with small kitchen designs, serving the same functions as a large-sized oven. As such, you can use it to toast bread, bake (cookies, cake or brownies), warm frozen food, roast chicken, make pizza, and so much more. So, if it serves you all these conveniences, why not learn how to clean toaster oven surfaces?
Accordingly, we've prepared a step-by-step guide on cleaning this appliance holistically. Even more, we will make your learning process worthwhile with additional tips regarding your toaster oven cleanliness. Previously, most of us thought a clean toaster oven tray was adequate to keep using your toaster oven, but it's time to do more.
Fortunately, despite their compact size, toaster ovens come in structures that are easy to clean within a matter of minutes. However, the longer you don't clean your toaster oven, the longer you will take to clean it. Also, learning to clean a toaster oven is for your benefit. But before we get to the cleaning process, let's be more objective and understand why we need to clean a toaster oven.
Why Clean Your Toaster Oven?
Cooking or baking with a new toaster oven is one of the most exciting times since you are working with clean surfaces. For some reason, food from a new appliance also tends to taste the best. However, the moment splatters, grease and crumbs start to gather, you somehow lose your cooking enthusiasm. Subsequently, the question is whether you've exhausted all menus or you are demoralized by the dirty surfaces.
Without any judgments, the dirty surfaces you've caused yourself are at the core of your lost cooking oomph. As a result, we wish to remind you why you need to clean a toaster oven as part of revamping your adventurous cooking. So, without much ado, here are a few reasons for cleaning your toaster oven:
- A well-maintained toaster oven is more energy considerate and efficient. Alongside other energy-efficient appliances like a low-wattage microwave, you will save on power bills.
- A clean toaster oven tray upholds the originally intended taste.
- A clean toaster oven upholds kitchen hygiene and prevents the thriving of disease-causing microorganisms. Therefore, it will protect against stomach aches caused by contaminated food.
- A dirt-clogged toaster oven might end up breaking down. So why spend more money to buy a new appliance while you could have used less for cleaning? Therefore, increase the lifespan of your toaster oven by cleaning.
- Burnt crumbs and grease smoke up your space leaving it with a charred food smell.
- A clean counter-top toaster oven boosts the aesthetics of your small space. By and by, you won't be ashamed to have visitors even as you play the warm host who offers munchies.
In fact, all the above reasons roost back to you, meaning you are the main beneficiary. Additionally, manufacturers ensure their appliances come with specific instructions on care and maintenance. So, in the end, you have all the reasons to clean your toaster oven.
How to Clean a Dirty Toaster Oven
Ready to clean your toasting oven? Let's get to the cleaning process. As earlier highlighted, toaster oven cleaning is easy and quick, but it has to be done properly and the right way. Consequently, this is where the how-to comes in.
What You Need
- Dish soap
- Cleaning sponges and cloths (non-abrasive type)
- Water
- Baking soda
- Vinegar
- Lemon juice
- Rubber gloves for your hands
- Soft-bristled pastry brush or an old toothbrush
- Spray bottle
- Coffee filters
- Silicone or plastic spatula
Process
Step 1: Disconnect and Remove All Parts
How to clean toaster oven surfaces should start with unplugging your toaster oven to avoid being electrocuted. Yes, such appliances are built with maximum electrical safety, but a simple electrical fault might risk your safety. As such, this first precaution applies to the cleaning of any electrical appliance or equipment. Then, if you are from cooking or baking, leave it to completely cool off.
When sure your appliance is cool and unplugged, you can proceed to remove the baking rack/tray, crumb tray, grill and any other removable parts. Notably, most toaster ovens come with one bottom metal oven tray and one stainless steel rack. Fortunately, the baking rack and racks/trays are built to slide out easily.
After you remove the crumb tray, dump its collection into a dustbin. Then, place all the removed parts in a sink as you prepare them for the second step. Luckily, most users often clean the removable parts but only when they need to bake. For future reference and new users, you should also clean toaster oven trays, pans and grills before their first use.
Step 2: Soak and Clean Toaster Oven Racks and Tray
Ideally, trays and racks aren't the only parts to be cleaned in a toaster oven. Nonetheless, you wash them first to leave them to air dry and ready to put them back when done with the cleaning. Accordingly, proceed to soak your dirty oven tray and racks in a sink with hot water with soap.
In light of cleaning your toaster oven, be careful not to use harsh chemicals by consulting your user's manual. For instance, a commercial oven cleaner might damage the surface of your oven. That said, use a soft, damp sponge to clean the crumb tray, baking tray and other racks/trays as you gently remove the baked-on grease and other residues with soapy water.
Worth noting, using hot soapy water works to accelerate the removal of baked-on grease. So, for more stubborn dirt and stains, you can soak your trays for a few hours. After your trays are clean, rinse with lukewarm water and leave to dry.
Step 3: Brush Crumbs Out of Toaster Oven
As you wait for your clean toaster oven tray and racks to dry, proceed to the inside of your appliance. Under this step, remove crumbs and other loose food residues within your toaster oven with an old toothbrush or dry cloth. Gently brush off all the loose residues rather than scrubbing, which might scratch the interior surfaces.
Regarding how to clean toaster oven interior surfaces, you can gently tap the top and sides to remove trapped residues. Tapping mostly works when you hold your toaster oven over a bin as you remove the crumbs. However, don't risk dropping your toaster over, instead gently brush and wipe out the crumbs. Eventually, avoid dirt on your kitchen floor by dumping the residues into a dust bin.
Step 4: Clean the Interior Surface
Method 1
After all the crumbs are out, prepare a cleaning solution of hot water and little dish soap or spray an all-purpose cleaner. However, for a deep clean, you simply use hot soapy water. Also, you can use a solution of 1 tablespoon of dish soap, 1/2 a cup of vinegar and 1/2 a cup of warm water.
Then, proceed and use a soft sponge, e.g., Magic Eraser or a rag dampened in your cleaning solution to wipe the interior walls. Avoid using a brillo pad since it will scratch the walls and surfaces. The vinegar-water solution or the soapy water will help remove grease and any burnt-on residues. If the grease is too much and obstinate, you can resort to the second cleaning method.
Method 2
You can use a baking soda (sodium bicarbonate) and water paste for stubborn grime and baked-on food residues. Alternatively, you can use a paste of three tablespoons of baking soda, a tablespoon of lemon juice and two tablespoons of tartar cream. You should elbow grease your surfaces using these pastes to remove stubborn grime adequately. Progressively, here's how to clean a toaster oven using baking soda paste:
1. Create the Paste
Mix half a cup of baking soda with some tablespoons of water in a small bowl. Accordingly, adjust the paste's consistency until it is spreadable, but avoid adding excess water. Therefore, this paste might vary across different users.
2. Apply the Paste on the Interior Surfaces
Apply your paste on every inner surface except on or near heating elements. While doing this, ensure you wear your rubber gloves to protect your hands. Additionally, ensure you reach all corners as you rub the paste on the surfaces.
Furthermore, focus your paste application on areas with grease. Subsequently, baking soda will help remove even the stubbornest grime. As you continue, your baking soda paste will become brown as it mixes with the grease and other burnt-on food residues. Also, you can use this paste to clean toaster oven tray surfaces with lingering grime.
3. Leave Overnight
The applied baking soda treatment should be left to sit in for some time, preferably overnight. Logically, you should apply and leave the treatment when you don't need your toaster oven. Consequently, adequate time will allow the baking soda to work its magic on any stubborn food dirt.
4. Wipeout your Oven
When satisfied your paste has had adequate action time, use a damp rag or dishcloth to gently wipe it off the walls and surfaces. Before wiping, you can remove the excess paste or reach tight corners with a silicone spatula. Progressively, you can sprinkle some baking soda on the wiping cloth as you clean toaster oven tray surfaces and inner walls.
5. Apply Vinegar
Another way of gently removing this paste is by spraying a little vinegar. Do target spraying on areas there is the paste. However, you can skip this step since it is best not to spray directly into your toaster oven.
6. Final Rinse Wipe
Finish this process by rinsing your damp cloth and wiping off any remaining paste. Wipe until all the grime and paste are completely wiped out. You can use lukewarm water to do the final wipe. Eventually, this alternative method will leave your taster oven clean and shiny.
Step 5: Cleaning the Heating Element
Having dealt with the grime on the inside, you can now focus your attention on cleaning the heating element. This part of the toaster oven is delicate, and to wipe it, you can either remove or lift it depending on the manufacturer's instructions. Also, avoid spraying heating elements or wiping them with a sponge.
Subsequently, if any residues have accumulated on the element, you can use baking soda and water paste to wipe them off. Instead of a sponge, scrub gently with a toothbrush or dishcloth. Ensure you scrub off this paste completely before using the appliance again. Failure to do, you will have the smell of baking soda in your food.
Alternatively, you can avoid any chemicals and use warm water for the heating elements. Notably, when there are stubborn food stains on the heating elements, avoid using harsh chemicals like soaps and instead use baking soda. Therefore, cleaning the heating element is essential but should be done carefully to avoid repair or replacement costs.
Step 6: Wipe the Glass Door
Modern toaster ovens come with glass doors for visible interiors without opening. As such, a glass oven door is bound to collect grease and dirt. Nonetheless, avoid using a commercial glass cleaner with your oven's glass door. Instead, you can use a standard home window cleaner mixed with lemon juice and vinegar.
After that, wipe using coffee filters or a simple microfiber cloth to leave your oven door without streaks. Alternatively, you can spray a mixture of two tablespoons of white vinegar and two tablespoons of water. Then, use a cloth to wipe the solution or dampen your cloth with this solution for wiping the glass door.
Step 7: Cleaning the Exterior
Once you are done cleaning every inner nook and cranny, you can now clean the outside. Accordingly, you can use soapy water and a damp microfiber cloth to wipe the handle, LCD screen, knobs and other high-touch areas. Moreover, you can use a mild antibacterial agent to kill any lingering germs.
Also, exterior cleaning might include sanitizing the glass door with an antibacterial agent. Generally, you should avoid using harsh chemicals on any exterior parts. By now, you should have covered all the parts of your toaster oven.
Step 8: Adequately Dry Your Oven
You should allow your toaster oven to air dry completely before putting pack its removable parts. Adequate drying will leave your toaster oven clean without wiping streaks and water. In the end, put back the clean toaster oven tray and all the racks. Voila! You have successfully completed a thorough toaster oven cleaning.
Here's also top picks for best oven cleaner spray for a clean and ready to use oven.
Cleaning and Maintenance Tips for Your Toaster Oven
Here are a few tips to ensure your toaster oven remains clean and in tip-top condition.:
- Avoid commercial chemical cleaners to avoid corroding your oven's surfaces. Even the best toaster ovens should be treated with care as substitutes to a regular oven. Correspondingly, avoid using scouring pads or brushes with hard bristles to avoid leaving scratches after cleaning.
- Frequently do light cleaning after use. For example, after baking, cooking or reheating food, ensure you wipe down any crumbs or grease splatters to avoid them from being baked on. Also, wipe small grease manifestations as soon as they occur to avoid further stubborn accumulation. You can use a damp cloth or a soft brush to help you reduce the frequency of deep cleans.
- Do a deep clean occasionally. Fortunately or unfortunately, there is no standard schedule to adhere to while keeping your toaster oven clean. Instead, the frequency and the process of how to clean toaster oven surfaces depends on the use of this appliance. As such, the more you use your toaster oven, the more often you will be required to consider deep cleaning. Ideally, you should thoroughly clean your toaster once a week to avoid smelling smoke while using it.
- Occasionally empty the drip pan or liner. This measure will help prevent the reheating and spreading of grease in your oven. As a result, you won't also see or smell smoke while baking or cooking with your tabletop oven. In most cases, remove the pan or replace the drip liner when necessary or even as you do your regular deep cleaning.
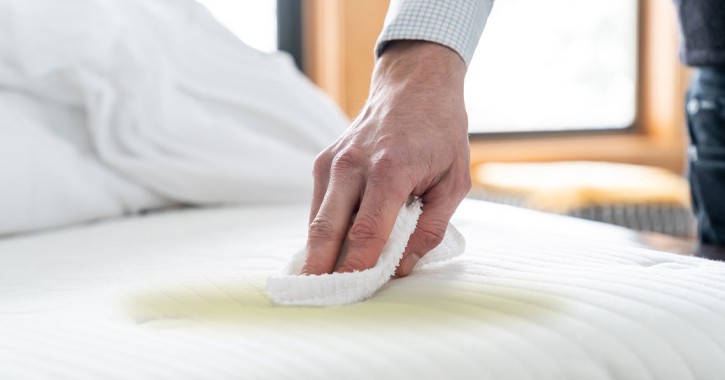
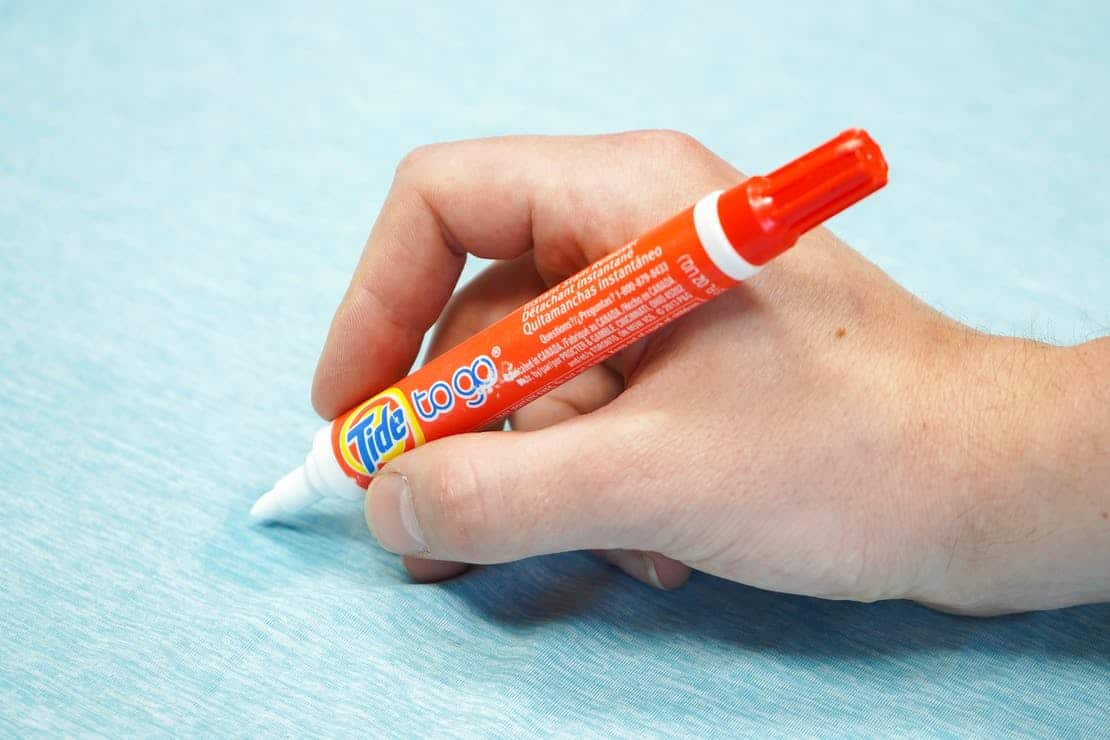
- Avoid storing food in your toaster oven. We often put bread, kitchen staples and other light foodstuffs in the toaster over to save on space. However, you might forget and heat your oven before removing your stored snacks. Subsequently, this might damage your oven or even your food, leading to awful burning smells in your house. If any bags burn in your oven, you can use nail polish to spot clean your toaster oven of any transferred color or discoloration.
- Invest in a self-cleaning toaster oven. Such an appliance makes oven cleaning easier due to its nonstick coating. For instance, nonstick pans and trays indeed make cleaning easier, but you might have to use the same method (s) provided in this guide. Nevertheless, your cleaning process should involve regular emptying of crumbs and loose food residues.
Frequently Asked Question on How to Clean Toaster Oven Surfaces
1. Can I Use an Oven Cleaner for a Toaster Oven?
As earlier highlighted, you should avoid a commercial oven cleaner. Notably, such cleaning solutions might be corrosive to your toaster oven surfaces. Yes, they will adequately remove the grime but at the expense of damaging your appliance.
Always, you should go over your manufacturer's instructions for safe and effective cleaning. For instance, the cleaning of an Oster toaster oven might vary from that of a Breville toaster oven. But, if you're not sure, baking soda and vinegar are natural, safe cleaners almost for all toaster ovens.
2. Can I lay down a liner on the oven tray?
Indeed, you can lay liner over your oven drip tray for easy cleaning. But, you should use a heavy-duty reusable nonstick oven liner to avoid using a new one every time you clean. As a result, you won't clean your toaster oven as vigorously as before the oven liner.