A great strategy for home improvement projects is a switch to open shelving. As such, you can invest in ready-made shelves or have them customized. If you are more inclined to DIY and creativity, you can opt for self-made shelves. In particular, the DIY installation of heavy-duty floating shelves can help optimize the size of your living space.
In light of the exquisite touch of floating shelving, here is a detailed guide on how to build these additions. It might sound like the kind of work that requires a professional. But not necessarily; all you need to do is believe in yourself and have the correct steps to follow for sturdy installations. At the end of this guide, we are sure you will take great pride in the work you will have completed.
Considerations to Make for Heavy-Duty Floating Shelves
Before installing any kind of heavy-duty floating shelf, there are a few aspects to look out for. Commensurately, these aspects also lead to the available options for floating wood shelves. So, without further ado, here are some of the key considerations to make.
1. Floating Support
Under this factor, you can choose to have a shelf between walls or have one appear floating midway through your wall. The latter will provide a true floating impression since it won't have any visible supports. Ideally, this true floating look will use support rods installed underneath. Therefore, you can choose between these floating styles depending on the area and aesthetic preferences.
2. Decorative vs. Streamlined Impression
A floating decorative bracket is more complex than a streamlined structure. This consideration relates to the purpose of installing floating racks. Notably, the purpose should be tied to the weight of items you intend on placing on your shelves.
Also, a decorative bracket can be further customized with any desired paint or stain. Even with simple spray paint, you can add that decorative edge to your shelf. In as much as we simplify the streamlined style, you need to create heavy-duty floating shelves that match a timeless yet lively interior vibe. Accordingly, you can also stain or paint your utility-inclined shelves.
3. Weight Held
In the context of heavy-duty shelves, they can either be customized to carry much weight or be crafted to fit a more decorative appeal. Moreover, weight also determines the support quality to hold your floating racks. As such, if your shelf is meant for a ton of items, it needs to have adequate depth into a wall or walls. In light of weight, always avoid overloaded shelves.
In addition, if you are working without any support, just a wall, you will need to go deeper 8-10 inches to make them strong. Subsequently, this consideration will make sure your shelves remain firm with a long time of service. This aspect then brings us to the next consideration.
4. Quality of Materials
Unquestionably, heavy-duty shelf installations will require heavy materials for construction. If you are seeking thick wood shelves, you can purchase thick planks from a lumber yard. Another super easy to use yet a super strong option for such projects is the easy-installation Walnut wood. Not to worry, you can purchase these options in hardware stores.
Therefore, the quality of your planks can also be translated to how chunky you want your shelves. In case you lack equipment like a drill press, you can have thickness customized to your liking. Overall, the thickness and quality of your wood will depend on your intended shelf project.
Alongside quality wood, the best bet for supporting rods or brackets is American steel. As you purchase your materials, you can ask for quality American steel made in Bell Buckle, Tennessee. Consequently, quality steel will not break or bend while holding chunky shelves carrying items like utensils or books.
5. Installation on Drywall or Plaster vs. On Wall Studs
A drywall is a kind that is hollow on the inside, while plaster is the kind that sounds compact without any hollow noise. Distinguishing between these walls matters when you don't intend to use studs to support your floating shelf brackets. Additionally, if a nail readily slides into a wall, it is drywall instead of a plaster wall that requires tapping. Therefore, a project on drywall or plaster will require additional support like wall anchors (Molly plugs) for plaster or toggle/butterfly anchors for drywall.
Moreover, factor in the purpose of your shelves as you purchase your anchors. In essence, these anchors come with different ratings depending on the weight to be supported. Nevertheless, the wallboard might be too fragile for a lot of heaviness, thus working best with low-end leverage ratings.
Nonetheless, requiring a few taps may also imply there could be a stud. Wall studs are common in the drywall design, and they are repetitive vertical framings of a building. In light of this concept, you won't need any anchors for your shelve brackets. For example, you can directly install a 100-pound shelf on a stud.
Notably, when working with studs, ensure you have enough space for firm shelf support. Also, you can make use of a powerful finish nailer to fasten or add trim. Overall, a heavy-duty floating shelf might be relatively thin but sturdy if installed well.
How to Install Heavy-Duty Floating Shelves
What you Need
- Drill
- Measuring tape
- Heavy-duty wood boards
- Stud finder. This tool comes with a magnet to detect nails and screws in a wall as a way of locating studs.
- Anchors
- Screws and nails
- Level
- Sandpaper
- Bracket
Process
Step 1: Install Supporting Pieces (Brackets)
Your project will begin with choosing the floating brackets to use. Ideally, go for a bracket style that is completely hidden to achieve a true floating impression. Before installing your shelf brackets, ensure they are welded straight.
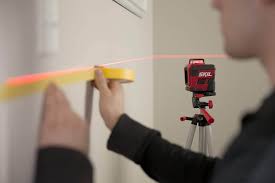
After ensuring your supporting pieces are up for the job, decide where you want the shelves and draw level lines on the surface. Principally, ensure that your shelves are at a height that won't knock any head or bodies. At this point, you will also decide how high you want the first shelf and the distance between the subsequent shelves.
Having identified the appropriate location of your shelves, use the stud finder to mark where the studs are and pre-drill holes. Subsequently, screw the floating shelf brackets into the studs. Next, use your drill to drive long wood screws that hang the steel brackets. You can also use screws and dowels to fix your open shelves.
Step 2: Prepare Wood Planks
This step will only apply if your shelf planks are not cut for ready-made installation. Nonetheless, most spaces will require customization of panels as you go for perfect fitting. As such, use your measuring tape to cut the required board length for your shelves. If you are installing between cabinets or walls, we recommend leaving a few inches on either side to avoid scraping while installing.
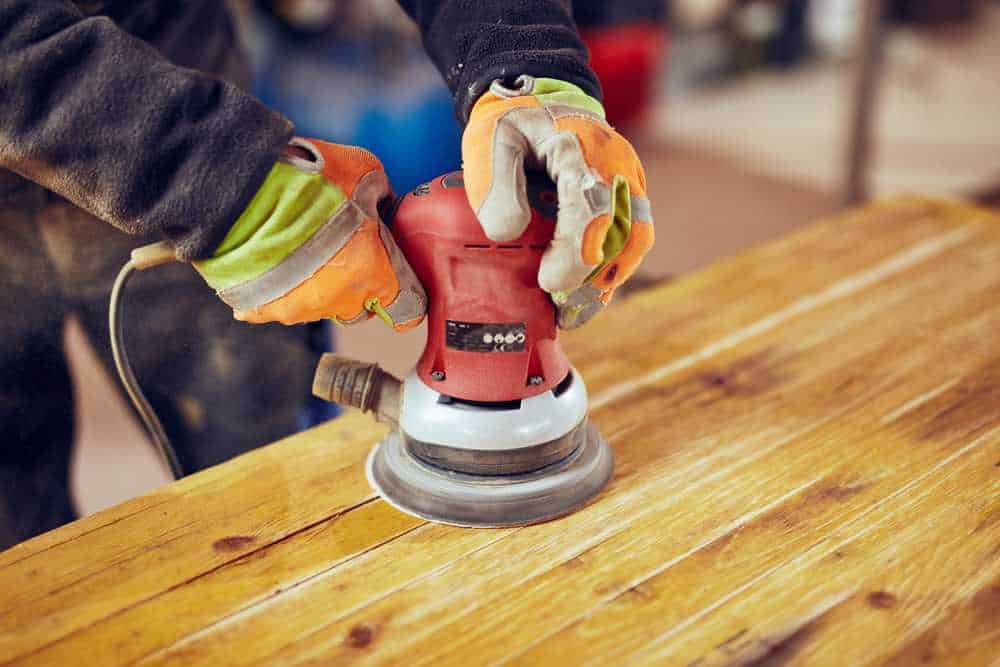
After you have the appropriate board lengths, finish them, especially when hiding the rough surfaces. Ideally, applying an appropriate wood finish will ensure that your eventual shelves are easy to clean while maintaining their natural tone. Alternatively, you can sand them down for the smoothness required while painting. Consequently, you can choose the fitting look that matches your space's aesthetics.
Maybe just to give you an idea on how to finish your wood planks, apply a top coat of clear matte before sanding your board. Follow this up with light sanding to achieve light smoothness. However, do this by hand and not an orbital sander. After that, repeat the top coat of clear matter, then do final sanding to your desired smoothness.
Step 3: Drill Your Shelf Panels
After each board is finished across its entire length and on both sides, go ahead and drill holes. It is at this point you will make use of the drill and a long drill bit. Also, ensure that your bit is similar in size to your supporting bracket holes or slightly bigger. Under this step, the primary idea is to have shelf planks with holes drilled at the back for attachment to the already installed steel brackets.
If you don't have a drill or a drill press, you can visit your local woodworker for such customizations. You might have to incur a small fee, but worth supporting local jobs as the money stays in your local economy. Anyway, without losing sight of the task at hand, a personal drill would make work easier by finishing all the work within the same room.
Step 4: Install Your Shelves
Simply lift your shelf panels onto the brackets and slide them on the solid steel support rods. Before you even get to this stage, ensure your measurements are accurate for a seamless fit and alignment of the drilled holes. While installing, you will need a rubber mallet to add some push if installing between walls or cabinets. Otherwise, if you use floating brackets, you will need a screwdriver or a screwing bit to make work easier.
Furthermore, you might need to use painter's tape on either fitting side of a plank to avoid causing damage to any existing cabinets. In the case of screwing into brackets, you can use wood glue or construction adhesive if necessary for a tight nail/screw grip. However, using adhesive might make removing the shelves in the future a bit hectic. Also, you can consider having some minor back and forth play for slight fitting adjustments.
In the context of thick shelving, we recommend using strong structural screws through the pre-drilled holes. Going back to adding an adhesive, it would help to avoid sliding of screws when something heavy is placed on the shelves. Eventually, ensure your screws reach an adequate depth to attach your wood planks to the brackets as they still anchor into the wall.
Benefits of Heavy-Duty Floating Shelves
1. Easy Installation
Mounting floating shelves is easy with the right materials and equipment. For instance, if you purchase ready-made boards, they will come with a precision uniformity for easy fitting. Also, their square shape will ensure your home improvement DIY project runs smoothly. Then, all you need is to drill holes into your boards for attachment points with the floating shelf brackets.
2. Additional Space
If your cabinets are filled with items, you can add a storage or shelving area with floating wood shelves. You can simply slide these creative additions between walls cabinets or just have them float mid-wall. Primarily, ensure that the select bracket set is strong enough to support your heavy-duty wood along with its load. You can have these additional racks for:
- Laundry storage
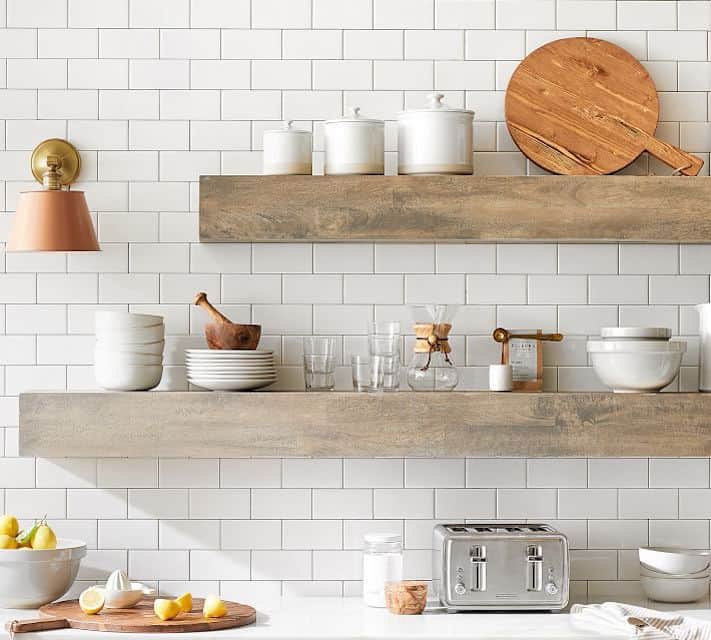
- Kitchen shelving
- Bathroom storage
- Floating bookshelves
- Garage storage and shelving
3. Invisible Impression
This benefit will particularly be achieved with the mid-wall bracket-shelf design. As such, a heavy-duty floating shelf arrangement will appear to float since the brackets are designed to be installed completely discretely. Therefore, the floating impression will translate to invisible aesthetics that will add an elegant look to any room and house.
Primarily, this shelving design will appear to free up more space to reduce clutter. The invisible impression also provides decorative aesthetics. A decorative floating shelf outlay may be brief yet heavy-duty to secure your delicate vases or decorations. Eventually, you will take great pride after completing your floating shelf project.
Frequently Asked Question on Installing Floating Shelves
1. Can you put floating shelf brackets on a tile surface?
Drilling holes or even probing the structural nature of a wall can be difficult with a tile surface. As such, you might have to undo your tiles to pave the way for the wall and stud framework. This action will help each bracket firmly attach to a surface. Throughout this process, ensure you are cautious for a neat job.
2. How much weight can floating racks hold?
Ideally, each stud bracket should float 50 pounds. Therefore, the more firmly planted brackets you have, the more weight your floating shelf will hold. Overall, ensure your brackets or support is enough to live up to this expectation.