Thinking of hanging a picture on your wall or maybe some art pieces? Well, before doing this, there's an important question that you should ask. How far apart are studs? Knowing the answer prevents the risk of property damage, injuries and the possibility of your fasteners being pulled out of the wall.
This article explores how far apart are studs and several factors to consider when trying to locate them.
1) What Are Wall Studs
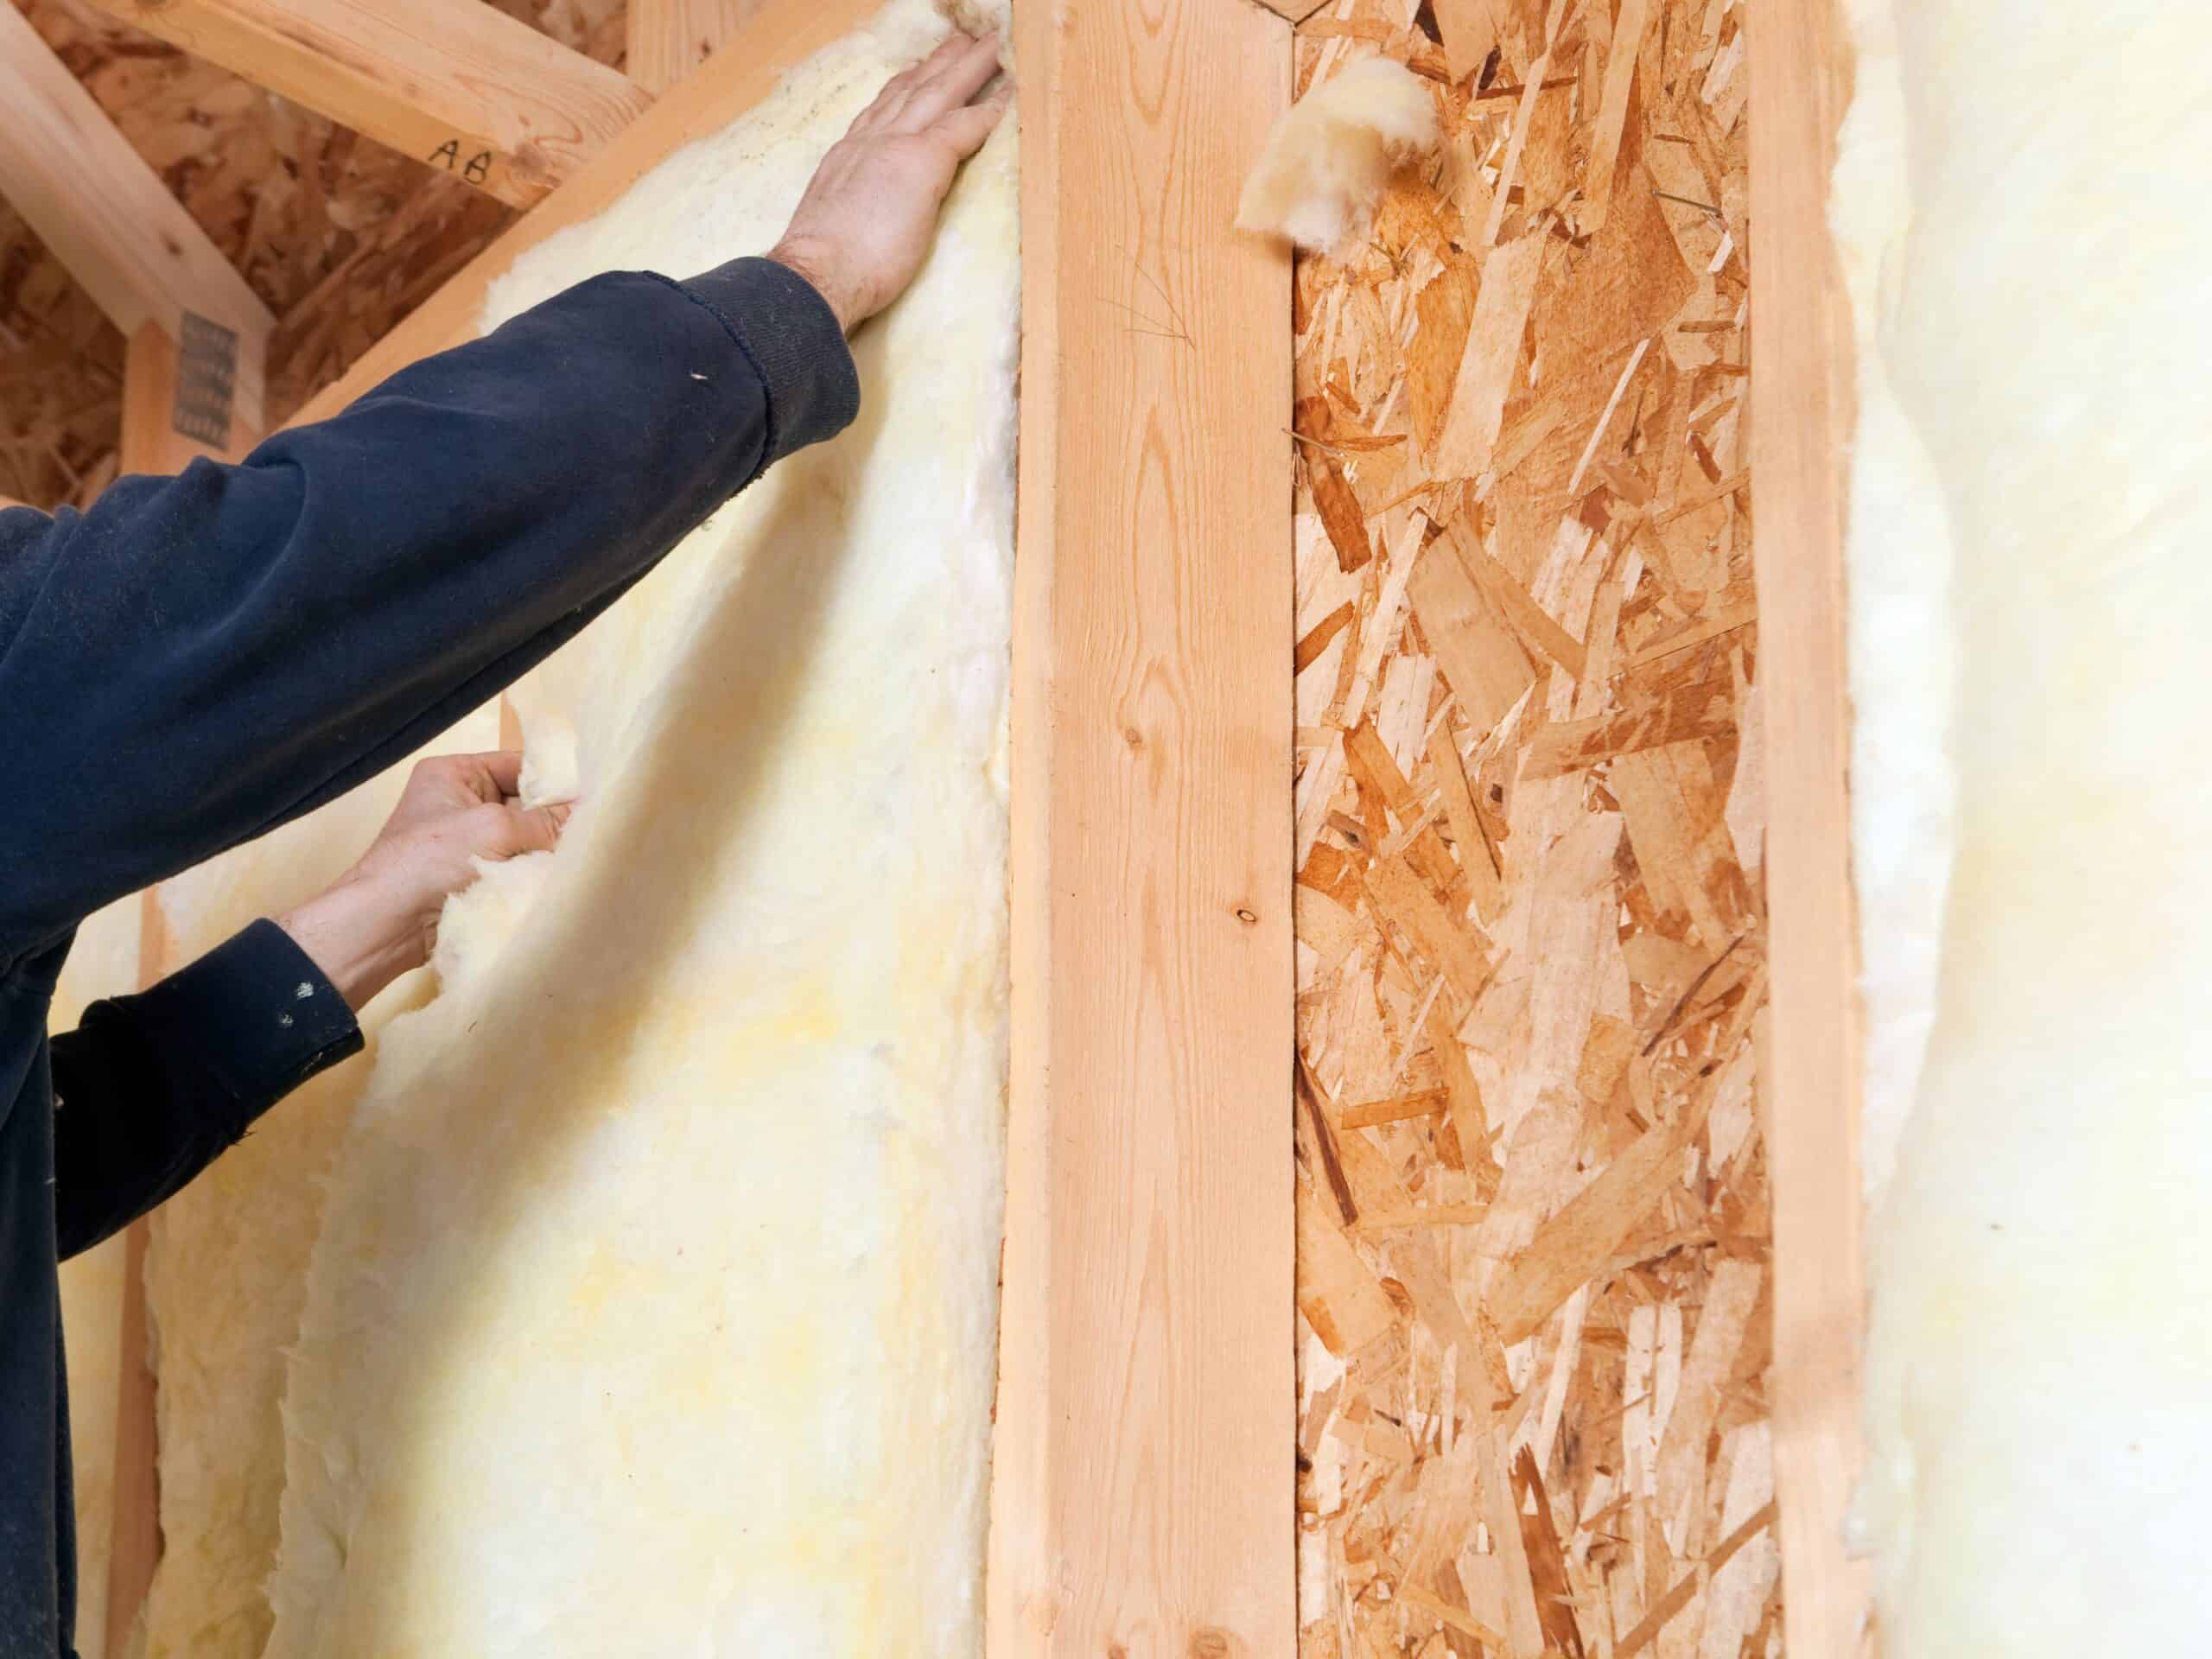
Wall studs are vertical boards (2 x4) that sit behind your wall. They function as the framework of the wall. If you've seen a picture of a home in progress, construction site or general renovation site, you'll recognize the studs as the wood boards that stand where the walls should be. Once assembled, drywall, lath or exterior sheathing is installed over the studs to finish the walls.
Spacing between studs needs to be precise such that 4-foot-by-8-foot sheets of drywall or exterior sheathing can be evenly distributed across the center of each stud to complete the wall assembly.
2) How Far Apart Are Studs?
a) Sixteen-Inch on Center
This means that they are exactly 16 inches from the center of the narrow side of one stud to the center of the next stud. Standard two-by-four studs measure about 1 1/2 inches by 3 1/2 inches.
Wall Studs are installed in vertical rows between the wall's top and bottom plates. The studs are placed 16 inches on the center for most interior and exterior load and non-load-bearing walls. Every stud is nailed in place with the 1 1/2-inch edges parallel to the faces of the wall.
b) Proper Wall Stud Spacing
In older homes, it's not unusual to find interior walls with studs set 24 or 12 inches on center or anywhere in between. Stud spacing in old houses was deemed necessary because the walls were usually covered in lath and plaster; hence the framing didn't have to conform to a 4-by-8-foot panel. However, today, stud placement is strictly governed by building codes, based on what the walls support.
c) Load-Bearing Studs
Some interior and exterior walls are load-bearing. This means that the walls support the roof and ceiling and the upper floors in multilevel structures. Hence making it an essential consideration when thinking of how far apart are studs.
On load-bearing walls, the spacing for walls studs is typically 16 inches. However, in some situations, it's permitted to use 24-inch spacing for two-by-four stud walls that support only a roof above or for two-by-six walls that support one story and a roof above.
When thinking of how far apart are studs, it's best to consult the local building department for requirements in your area. The wrong size or spacing of wall studs can compromise the stability and strength of the structure.
Some exterior walls have three studs at each end or a combination of at least one extra stud and lumber blocking providing backing for wall panels. The extra studs or blocking do not affect the 16-inch center layout.
d) Laying Out a Stud Wall
When it comes to wall stud spacing, the first two are typically spaced at 16 inches on center: the wall studs center is only 15 1/4 inches apart such that the drywall or panel material covers the entire 1 1/2-inch edge of the first stud. The remaining wall studs are 16 inches on center, and each panel stops, or "breaks," at the middle of the stud.
To find how far apart are studs, you'll need to layout a stud location with a tape measure, square and pencil. Do this by starting at the left end of the wall plate, then stretch the tape measure up to 15 1/4 inches, and mark it. Then use the square to draw a pencil line across the top (3 1/2-inch side) of the plate. Lastly, mark an "X" on the right side of the line, indicating that this is the side where the wall stud goes—the stud will cover the X.
3) How To Find Wall Studs
When it comes to finding studs, there are several methods you can use. You can achieve this with or without a stud finder. We explored both options.
Many tape measures used by carpenters feature unique markings that indicate stud spacing. For example, there is usually a red mark, "STUD", or both every 16 inches. Using these markings, you'll only have to remember to measure from center to center. In addition, your stud spacing will likely meet building local codes and heating installation requirements.
First, it helps to have an understanding of wall construction.
All houses are different, but there are a couple of things you can rely on. First, most modern stick-framed houses ( anything built after 1920) are likely built with 2x4 or 2x6 wall studs. Here are some top things to take note of on walls are framed:
- Wall studs are generally spaced between 16-24 inches on center (meaning from the middle of one wall stud to the middle of one next to it.) 16-inch is the most common dimension
- Most studs are either on the side of a window or door, but their placement is determined by the floor plans, so they won't typically have the 16-inch spacing
- Most electrical outlets (switches or boxes) are attached to a stud on one side
- The actual dimensions of 2x4 lumber vary depending on the date the house or wall was built. For example, between 1900-1950, rough cut 2x4's were most common and were two inches by four inches
- Trim (crown molding, baseboard, and shoe molding) is generally nailed to a stud
i) Use an electronic stud finder
Generally, electronic stud finders make it easier to locate studs. You can purchase them in hardware shops or online, and they cost anywhere between $10 to $50. Most models can differentiate between wood and metal studs (e.g. steel studs). In addition, they alert you of the presence of electrical wires.
It's worth noting that a stud finder isn't as accurate when identifying studs through plaster walls; hence if you have plaster walls, it's advisable to use a stud finder along with other methods to get the most accurate read.
The simplest way you can achieve this is by using an electronic stud finder to scan along the wall. If your wall is made from drywall, the stud finder will work well. However, for lath or plaster walls, you may require a particular stud finder with metal-scanning capabilities.
ii) Tap it out
An additional way to find studs is to use the knock test. You'll need to unroll a tape measure from a corner of your home and mark the wall with a pencil at 12, 16 and 24 inches, then knock the wall at each point. Areas without studs give off a low, hollow sound. Tapping a wall stud, however, produces a higher tone and more solid sound.
iii) Follow the outlets
When searching for wall studs, one of the best places to start is the electrical box or light switch. This is because they are usually fastened to studs making them an excellent study guide. You'll need to remove the electrical outlet or light switch cover. Then, peer inside with a flashlight until you spot which edge of the stud is attached to the box. From there, measure out 3/4 of an inch to locate the center of the stud. In rare cases, you're likely to notice that a wall outlet may have been added at a later time, but in such situations, a special remodeling box is used that doesn't need to be nailed to a wall stud. These types of studs are known as adjacent studs.
iv) Break out the magnets
Do you collect magnets? Maybe from trips, or you've got a collection of fridge magnets. Pick the strongest one and use tape or string to dangle it along the wall. This allows it to pull towards the nail in your stud. Once the magnet is pulled to the nail, measure 16 or 24 inches out to find studs in the rest of your room.
v) Shine a light
When trying to find a stud, you can use a flashlight which aids in giving an idea of where fasteners were used to secure the panels to the wall studs. Be on the lookout for raised or recessed imperfections that run vertically on drywall.
vi) Trace your trim
Your baseboard is likely attached to wall studs, and if you study it carefully, you should be able to find spots where it was nailed. The test holes will probably resemble dimples since they've already been filled with caulk and painted over, but you might be able to spot them if you look close enough. Next, trace a vertical line up your wall with a pencil, knocking along the line to hear if the sound is hollow or solid and using a magnet to spot your stud's nail.
Why It’s Important To Locate Wall Studs
If looking to hang a piece of art or shelves, it's important to secure these heavy objects to a stud. Without the security of a wall stud, your fasteners could pull out of the wall, ruining your property, the object, and possibly even causing injury. Our tips above guide you on you can do this with a stud finder or the non-technical way.