Mounting a new ceiling fan is a terrific method to lower your energy costs while maintaining your comfort and adding a trendy touch to any space. The fan installation can be done over a weekend if DIY activities serve as your leisure pursuit, and it just requires a few hours.
If the rooms you are planning to install your fan in has a ceiling outlet, then it's an easy process which is the same as wiring any ceiling fixture. However, if the intended room has no overhead box, hire an electrician to install the ceiling fan box for you, then enjoy the process of installing the fan yourself. Read on to learn how to install a ceiling fan on your step by step and do it yourself.
Ceiling Fan Installation Safety Rules
There are rules to observe when installing a ceiling fan to reduce any risk of injury or your property getting damaged. Below are some of them:
1. Before you begin, make sure the power is off at the circuit breaker box
2. Confirm there are no obstructions on the installation site
3. Choose a U-listed outlet box marked "Acceptable for Fan Support."
4. Verify all the electrical connections comply with the local codes or National Electric Codes from the building department.
5. Make sure you read and understand the manufacturer's instructions for extra safety, caution, and warning information.
Tools for the Ceiling Fan Installation Process
You will need several tools and equipment for installing a ceiling fan. They include:
- Six-foot ladder
- A 4-inch hole saw
- Stud finder
- 7/8-inch wrench
- A drill
- A voltage tester
This project will take 3 hours, and it is not a beginner project because it requires some expertise.
How to Install the Ceiling Fan
1. Turn off the Power at the Circuit Panel or Fuse
It would be best if you start by confirming the safety precaution that the electricity is turned off, then go-ahead to remove the shade or globe from the existing light fixture. There might be several wires in the circuit box, and try to be safe using a voltage tester or turning the power off. This is to ensure all the wires are dead in the circuit box.
2. Remove the Existing Light Fixture
Climb up to the roof safely using a ladder and unfasten the screws holding the fixture to the ceiling, lowering the fixture to disconnect the wires. Twist off the plastic wire connectors from the wire's ends to successfully disconnect the wires.
The wires come in either two or three colors; black wire as the live wire, white the neutral wire, and green the ground wire.
3. Install a Fan Brace
The ceiling fans' brace is there to help you mount an electrical box between two ceiling joists without having to access the attic. With a stud finder, locate a spot between two studs, cut a hole in the spot using a 4-inch hole saw, and clear the ceiling area above the drywall of debris and insulation.
Insert the brace section separately into the hole, then using your hand turn the brace until it lengthens and fits firmly between the two joists. Pass the electric cable from the ceiling through the knockout hole, set the box into the hole, cut through the ceiling, and attach it to the brace with the included hardware.
4. Cover the Old Box
With the wires out of the old ceiling fan junction box, install a 4inch round cover ceiling plate over the ceiling box, and you can paint it to your preferred color. However, if the junction box is nailed to the ceiling joist side, leave the ceiling boxes in place instead of covering it with a plate because it's hard to remove it without removing a large drywall section.
5. Install the Mounting Bracket
All ceiling fans have a two-step installation process, the first being installing the mounting bracket on the electrical box, then the ceiling fan bulk is slid into place in the mounting bracket. Screw the fan mounting blade bracket to the electrical box using the included screws and ensure all the electrical supply wires pass through the intended opening on the mounting fan bracket.
6. Attach the Fan Canopy to the Fan Motor Assembly
This must be done before you attach the motor assembly to the electrical box because this is a ring. Do this step by sliding the canopy on the fan motor assembly.
7. Join the Fan Motor Assembly to the Mounting Bracket
Using your ladder, slide the motor assembly into the mounting brackets until positioned and use the included hardware to secure the fan motor assembly leaving the fan blades unattached.
8. Make the Wire Connections
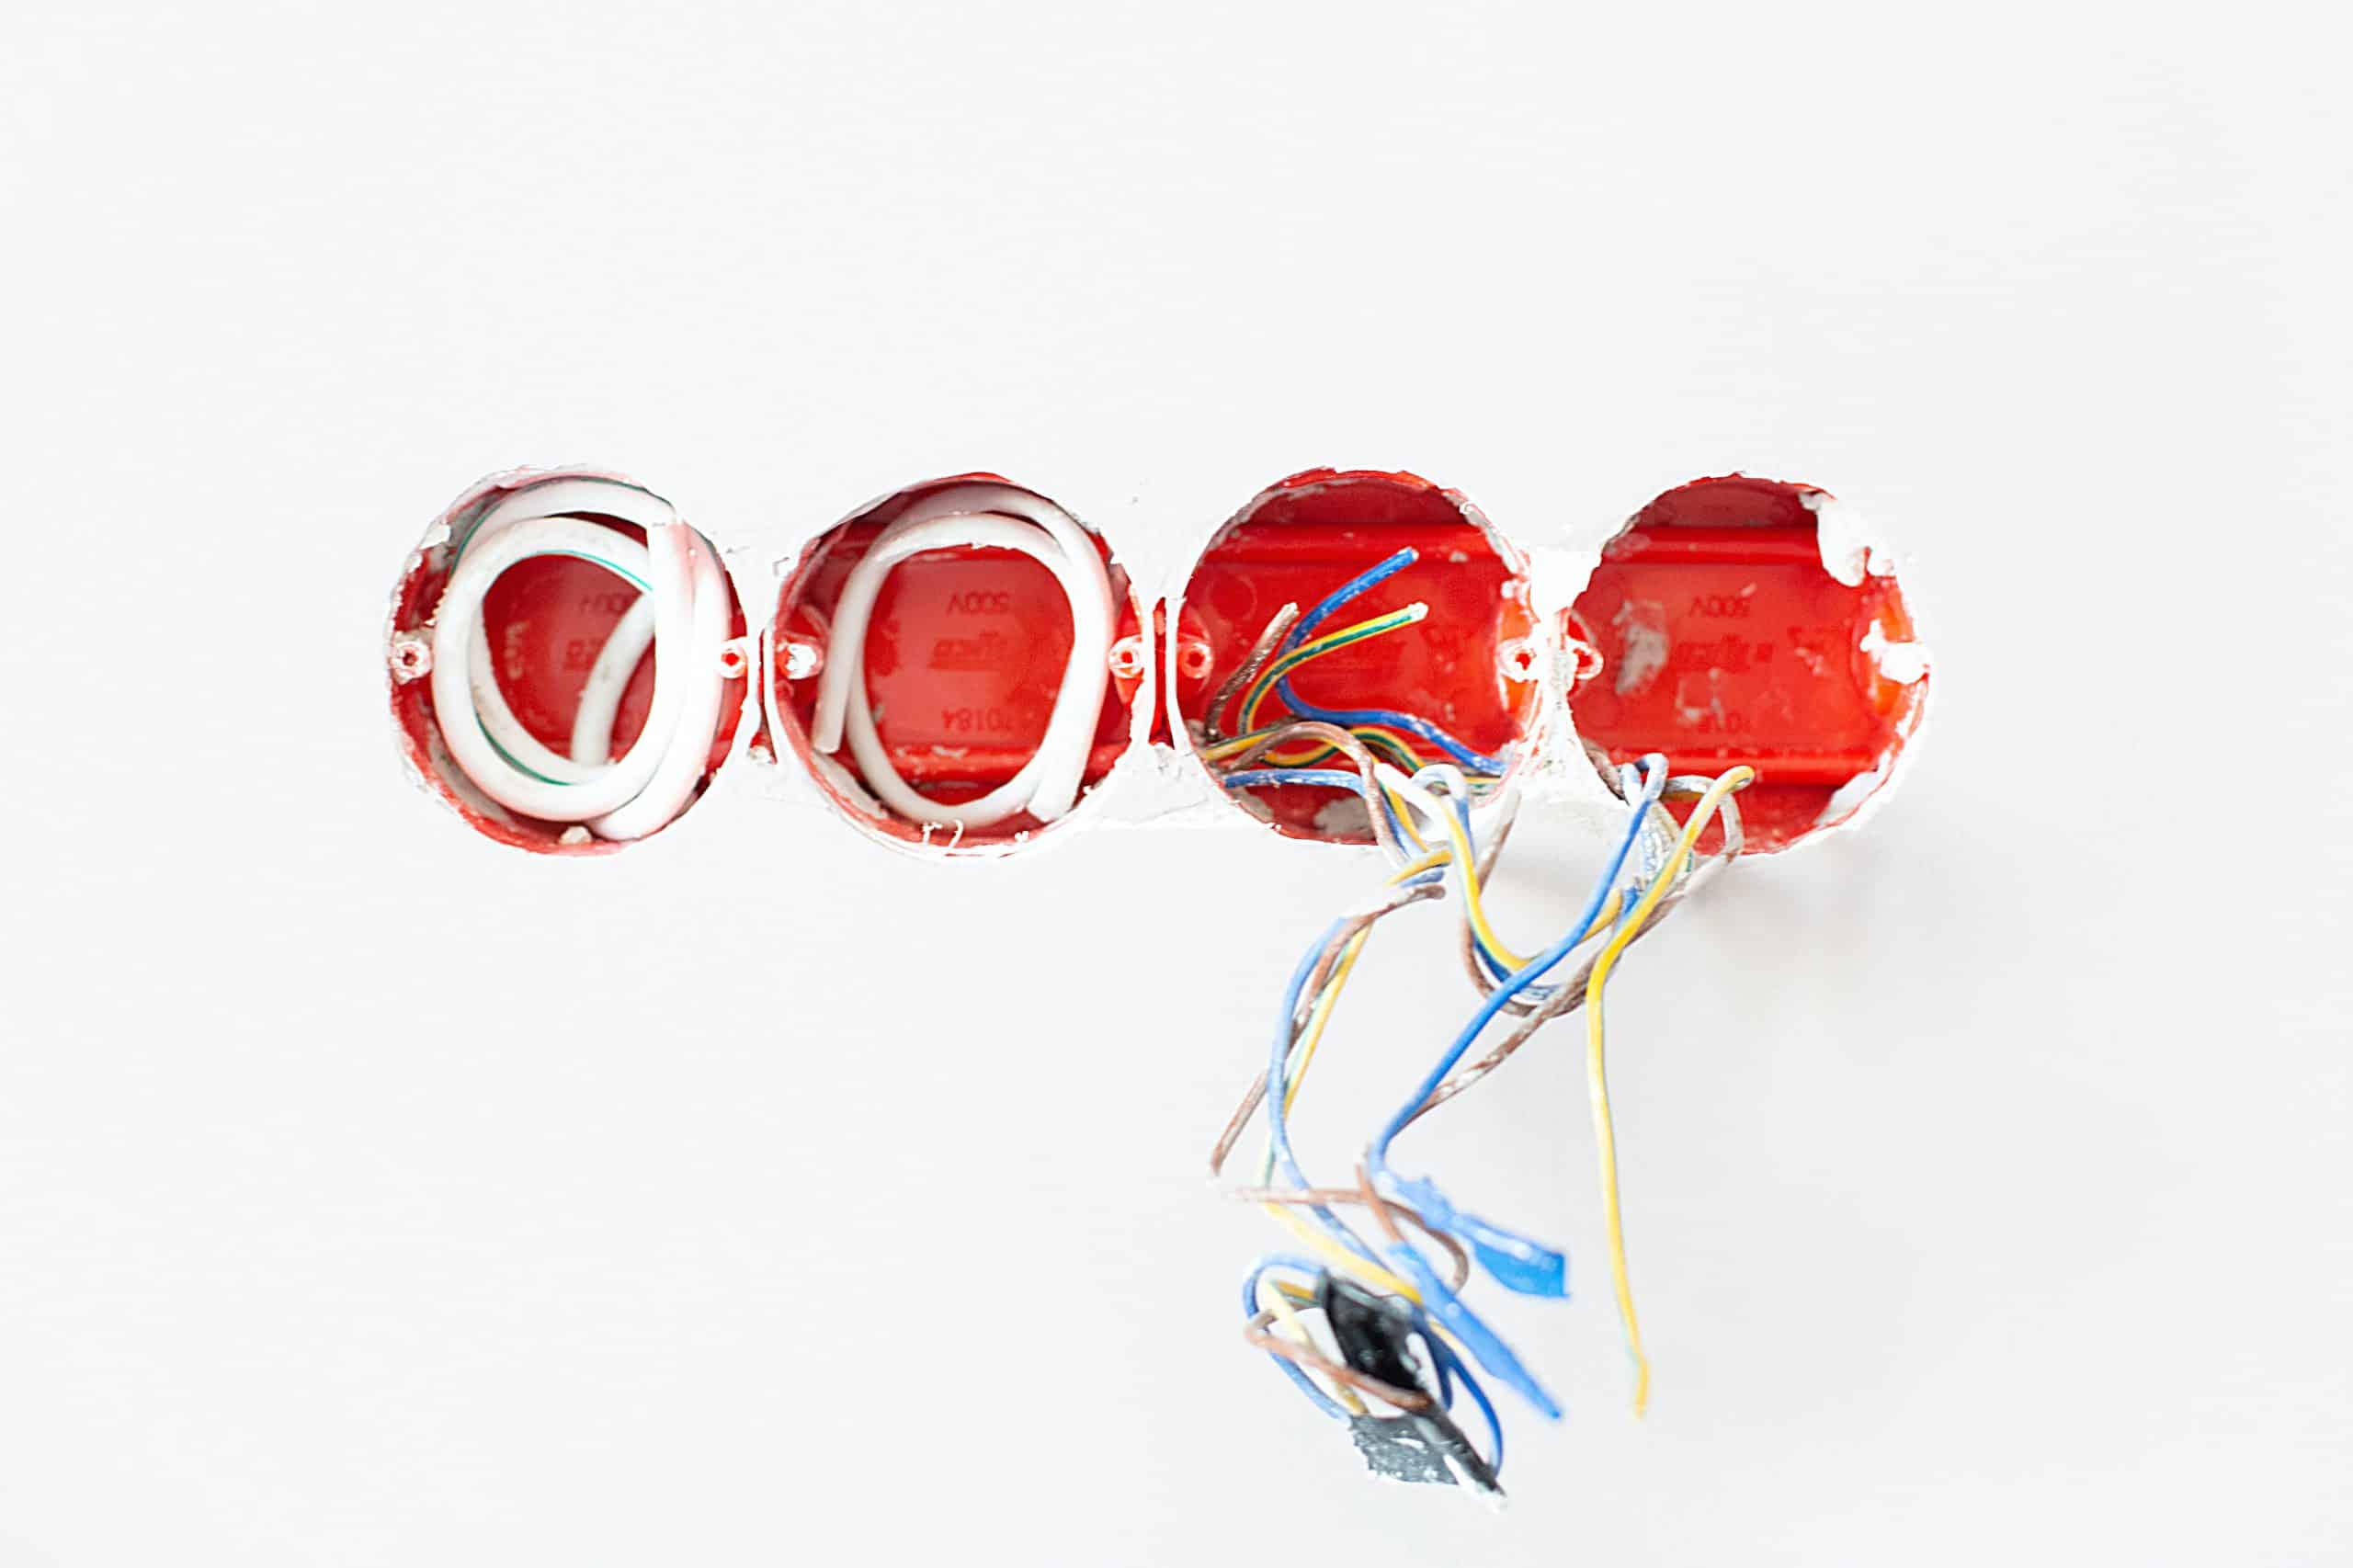
For specific ceiling fan wiring details, use the manufacturer's instructions, or if you feel uncomfortable with this process, you can hire a licensed electrician. If not, expose the wire ends using a wire stripper and twist together with the ceiling kit's wire nuts.
9. Attach the Fan Canopy
Slide the canopy upwards and screw the canopy into place using the decorative screws that come with the ceiling fan kit.
10. Attach the Ceiling Fan Blades
Ceiling blades come in two parts which are the blade and the mount. The mount attaches the fan blade to the motor assembly, and therefore you should connect the blade to the mount then attach both to the fan. Ensure accuracy with this step to prevent the fan blades from wobbling.
11. Attach the Shade and Light Bulbs
Most ceiling fans come with bulbs, so add your fan light bulbs and light shade to the setup and screw the plastic holder for the remote control to the wall beside the wall to control the fan and light separately without any additional wiring.
12. Connect the Switch
Check the code toggles on the wall switches and ensure they match the ones on the receiver. Proceed to remove the existing two black wires on the new wall switch and connect them to the ones connected on the old switch. Finally, screw the switch to the box and install the cover plate.
13. Test Your Ceiling Fan Installation
Switch on the circuit breaker and go and check your ceiling fan if it's working. If it is, you have just finished your ceiling fan mounting process.
Pro Tips
1. When purchasing your ceiling fan, choose a blade diameter that perfectly suits the room keeping in mind that bigger rooms call for wide blade diameters.
2. If your house has angled ceilings, you will need to install a downrod to lower the motor and blade brackets to clear the sloped ceiling surface.

