Learning how to paint a house's exterior and then do it yourself can seem grueling. Admittedly, the entire process can take at least a week, depending on the size of the home and whether you can get some help.
Our detailed guide covers the supplies required, the preparation method, strategies to ease the process, and essential considerations before diving in.
Let's get into the extensive undertaking and how you can nail the execution.
Exterior House Paint Job: Key Step-by-Step Instructions
Step 1: Getting Your Tools in Order

Image Source: Pxhere.com
1. First on the list is paint. However, since the fresh coat will go on the exterior of the building, it is best to consider the conditions it will have to endure: rain, snow in some parts of the country, and UV rays from the sun. Consequently, since latex paint is more durable, you need to narrow your search along those lines.
2. You need implements for your painting session. Several brushes for different colors, a paint roller to ease your work on certain sections, and paint sprayers to achieve an even spread will work. Although you will need to buy the first two, you can rent a paint sprayer to lower the construction or home improvement project cost.
3. If the exterior walls are high, you will need a ladder to get to them. Similarly, if your home has a second floor, climbing equipment will ensure you reach every nook and cranny of the home's exterior.
4. You must remove the existing coat before applying a fresh paint job on an old house. In addition, you need to repair any defects on the home's exterior and seal any holes. So, get a scrub brush or a scraper for peeling paint.
5. Sanding implements will help you even out the exterior surface after flaking paint off. Also, it would help if you had caulk and putty to seal door and window trims and get the areas ready for new paint.
6. Get a wood primer to ensure an even coating and a metal primer to prevent nail rust from showing through your new paint job.
7. Since you may not want to paint every inch of your home's exterior, get drop cloths, plastic sheets, and rags to prevent it from going everywhere. Additionally, painter's tape will help you seal some sections like window trims before applying a new coat of paint.
8. Finally, mistakes are expected, especially if this is your first rodeo. A pressure washer can help remove paint from door frames and other unwanted areas. But, water in a bucket will also work.
Step 2: Preparing the House Exterior

Image Source: Pxhere.com
Take the rags and drop cloths and place them next to the bottom of the walls along the house's exterior. When scraping paint off an old building, it is crucial to ensure the fragments do not fall on your lawn or nearby plants, as they can be notoriously difficult to remove.
You can use a wire brush or a pressure washer to remove old and loose paint from the exterior surface and expose the bare wood underneath. Additionally, the scrapping implement should help you get to the hard-to-reach areas of the house.
With your sanding tools, ensure no paint remnants are left on the surface of the areas you want to cover. This part can take a significant amount of time if you are alone and have a lot of surfaces to cover. Still, diligence is key as it ensures the final product looks professional.

Image Source: Pxhere.com
Check the roof/wall intersections, window, and door trims for defects and cover them with your caulk or putty. Keenness ensures you do not have to redo these sections after you finish the exterior painting work. Of course, reaching some places requires a ladder so ensure it has a steady base to avoid falling accidents when you are rigorously scrubbing.
Allow the repaired sections to completely dry before you cover them with the plastic sheets and drop cloths. Then, use the painter's tape to keep the coverings in place.
Also, you will need to consider vinyl siding or aluminum siding that protects porous surfaces from the elements. Once you have exposed wood and cleared surfaces, you can put the putty knife away and go to the next step.
Step 3: Get Your Exterior House Painting Tools Ready

Image Source: Pxhere.com
Apply primer to the bare wood until the entire surface exhibits a uniform appearance. The product will assist the paint to adhere to the exposed areas and ensure the colors remain vibrant regardless of the difference in shades between the old and new coats.
If you intend to use a paint sprayer, the advisable and simple option, follow the manufacturer's instructions. Whether getting the correct ratios for your paint mix or filling up the hopper, keep to the best practices for operating the equipment. This recommendation applies to the nozzle settings and necessary application distance to ensure even dispersal.
Alternatively, if you are stuck using brushes and a roller for paint application, ensure you have different sizes for reaching various sections. Still, this method may be safer if you are not experienced, as it can help ensure an even coat with no drips.
Step 4: Paint Your Home’s Exterior

Image Source: Pxhere.com
The most effective strategy for applying exterior paint is starting from the sections closest to the roof, then working your way down. In addition, avoid working under direct sunlight as it can hinder your vision. Plus, pay attention to the weather forecast, as sudden showers can negate any progress you have made.
Ensure you have a steady base for your ladder when working, so do not keep your paint cans underneath it. Alternatively, you can use scaffolding to help you work more freely. Nevertheless, ensure you are not overextending yourself while high up as it can result in falling accidents.
The direction that your vinyl or aluminum siding runs will help you develop a painting strategy. For instance, if the protective covers run horizontally, you must follow the motion when applying the first coat.
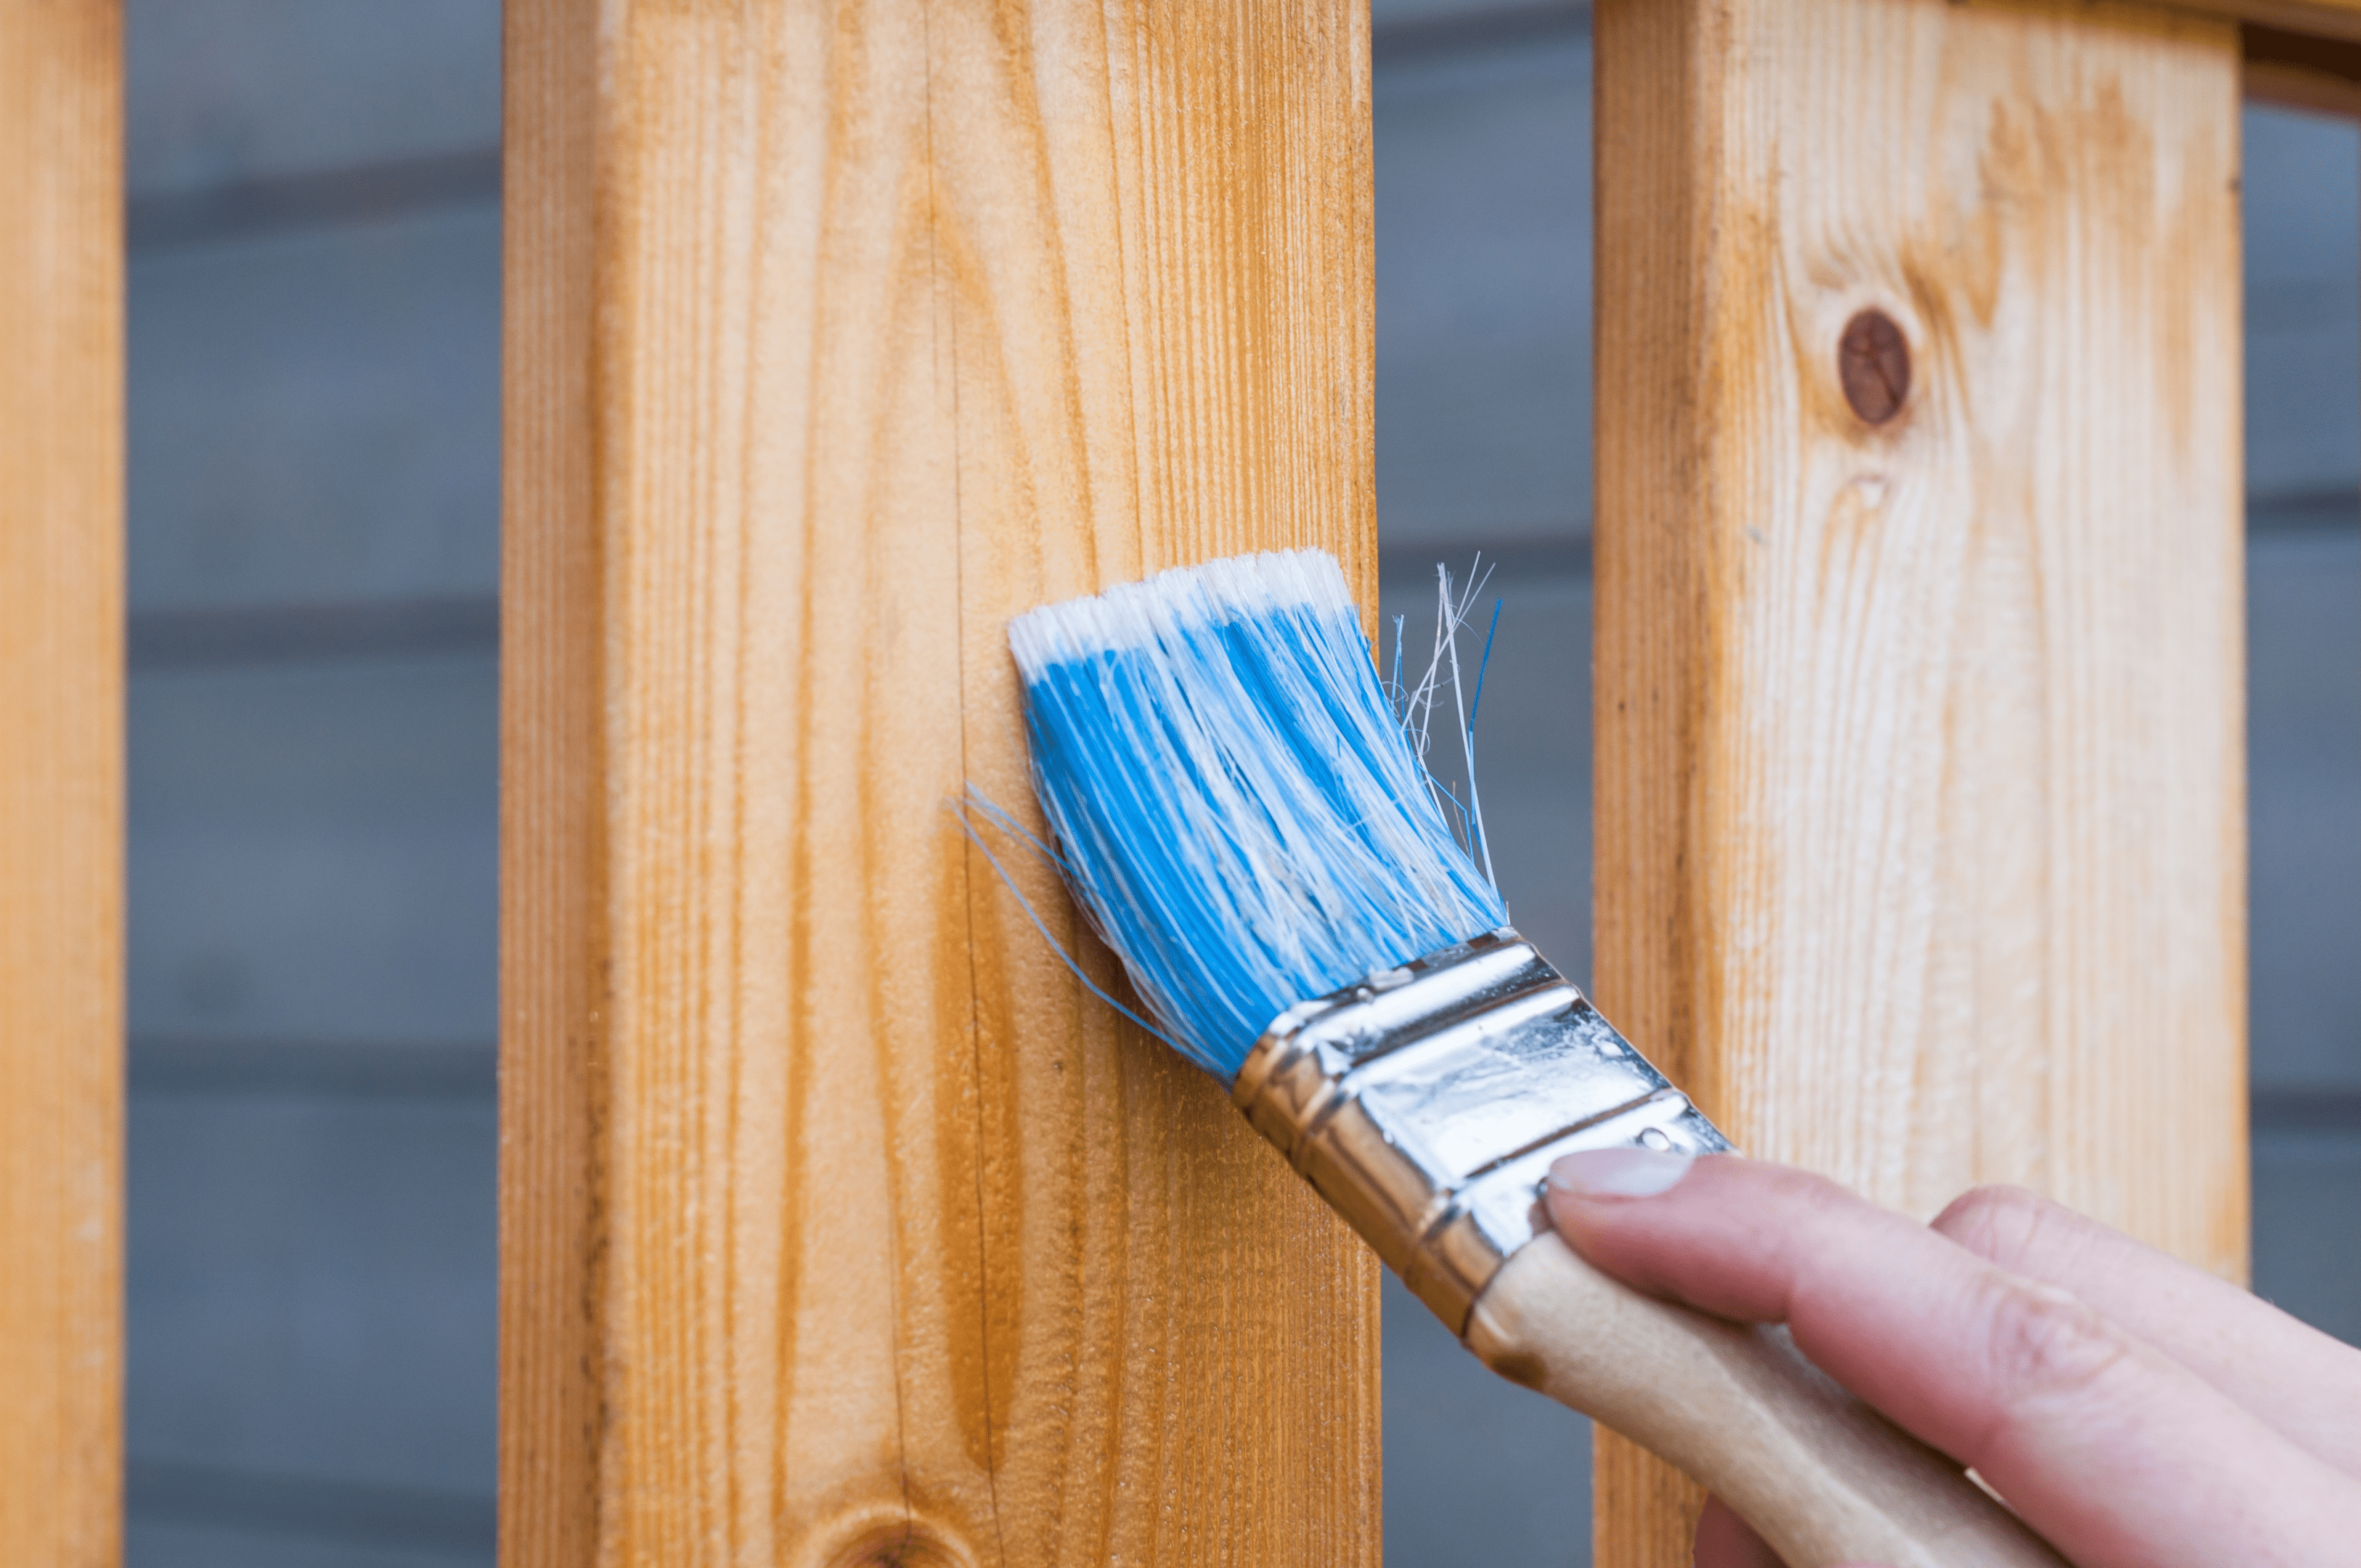
Image Source: Pxhere.com
When using a sprayer, ensure you apply a single layer at a time while you overlap existing layers to keep the same color running throughout the home exterior. Also, you can use a similar principle when relying on rollers or the brush technique.
Do not scoop up plenty of paint with your brush, as you will end up with an uneven paint color or drips. Instead, keep your strokes even and straight while following lap marks for the best results.
Since two coats are necessary, give the first one about two hours before starting afresh. Then, get your hands on unused brushes and rollers, or clean out the sprayer for the second coat of paint and follow the same steps for application.
After you paint your house, turn your attention to the trim work. You may need a special latex paint that offers resistance against mildew and mold. Go over these areas carefully as the process of removing fresh paint can be pretty tasking.
Finally, fix any mistakes as soon as they occur. It is much easier to remove loose paint before it hardens. Whether drips or spills through the protective covering, deal with them immediately.
Step 5: Clean Up Before The Big Reveal

Image Source: Pxhere.com
You can tour your home's exterior and examine your work from a distance to get a feel of how the colors blend across the surface. If you are satisfied, you can proceed to remove painter's tape, plastic sheets, drop cloths, and the rags you placed around.
If you used rented paint sprayers, act quickly to clean out the residue in the piping and nozzle before it becomes clogged by hardened paint. Also, you can use a small paint brush to touch up any areas with bare wood that you might have missed.
Afterward, you can put everything away after cleaning up the plastic sheets with a pressure wash and your clothes. After all, they may come in handy for other DIY projects. Also, we'll cover proper storage in the following section to help keep the paint usable.
Top Considerations for Exterior House Painting
a) The Home’s Age

Image Source: Pxhere.com
Before you start scraping off loose paint, it is crucial to consider the age of the home. Before 1978, houses relied on lead paint for their exterior. Therefore, you should proceed cautiously depending on the construction date and whether remodeling was done before by the previous owners.
Since the Environmental Protection Agency considers the material poisonous, you must consider your health and safety. Wear adequate protective clothing, especially when using chemical strippers.
A simple dust mask will work well if you are not working with lead-based paint. In cases where you are unsure, you can send a sample of the old paint debris to a lab and get accurate results.
b) Square Footage
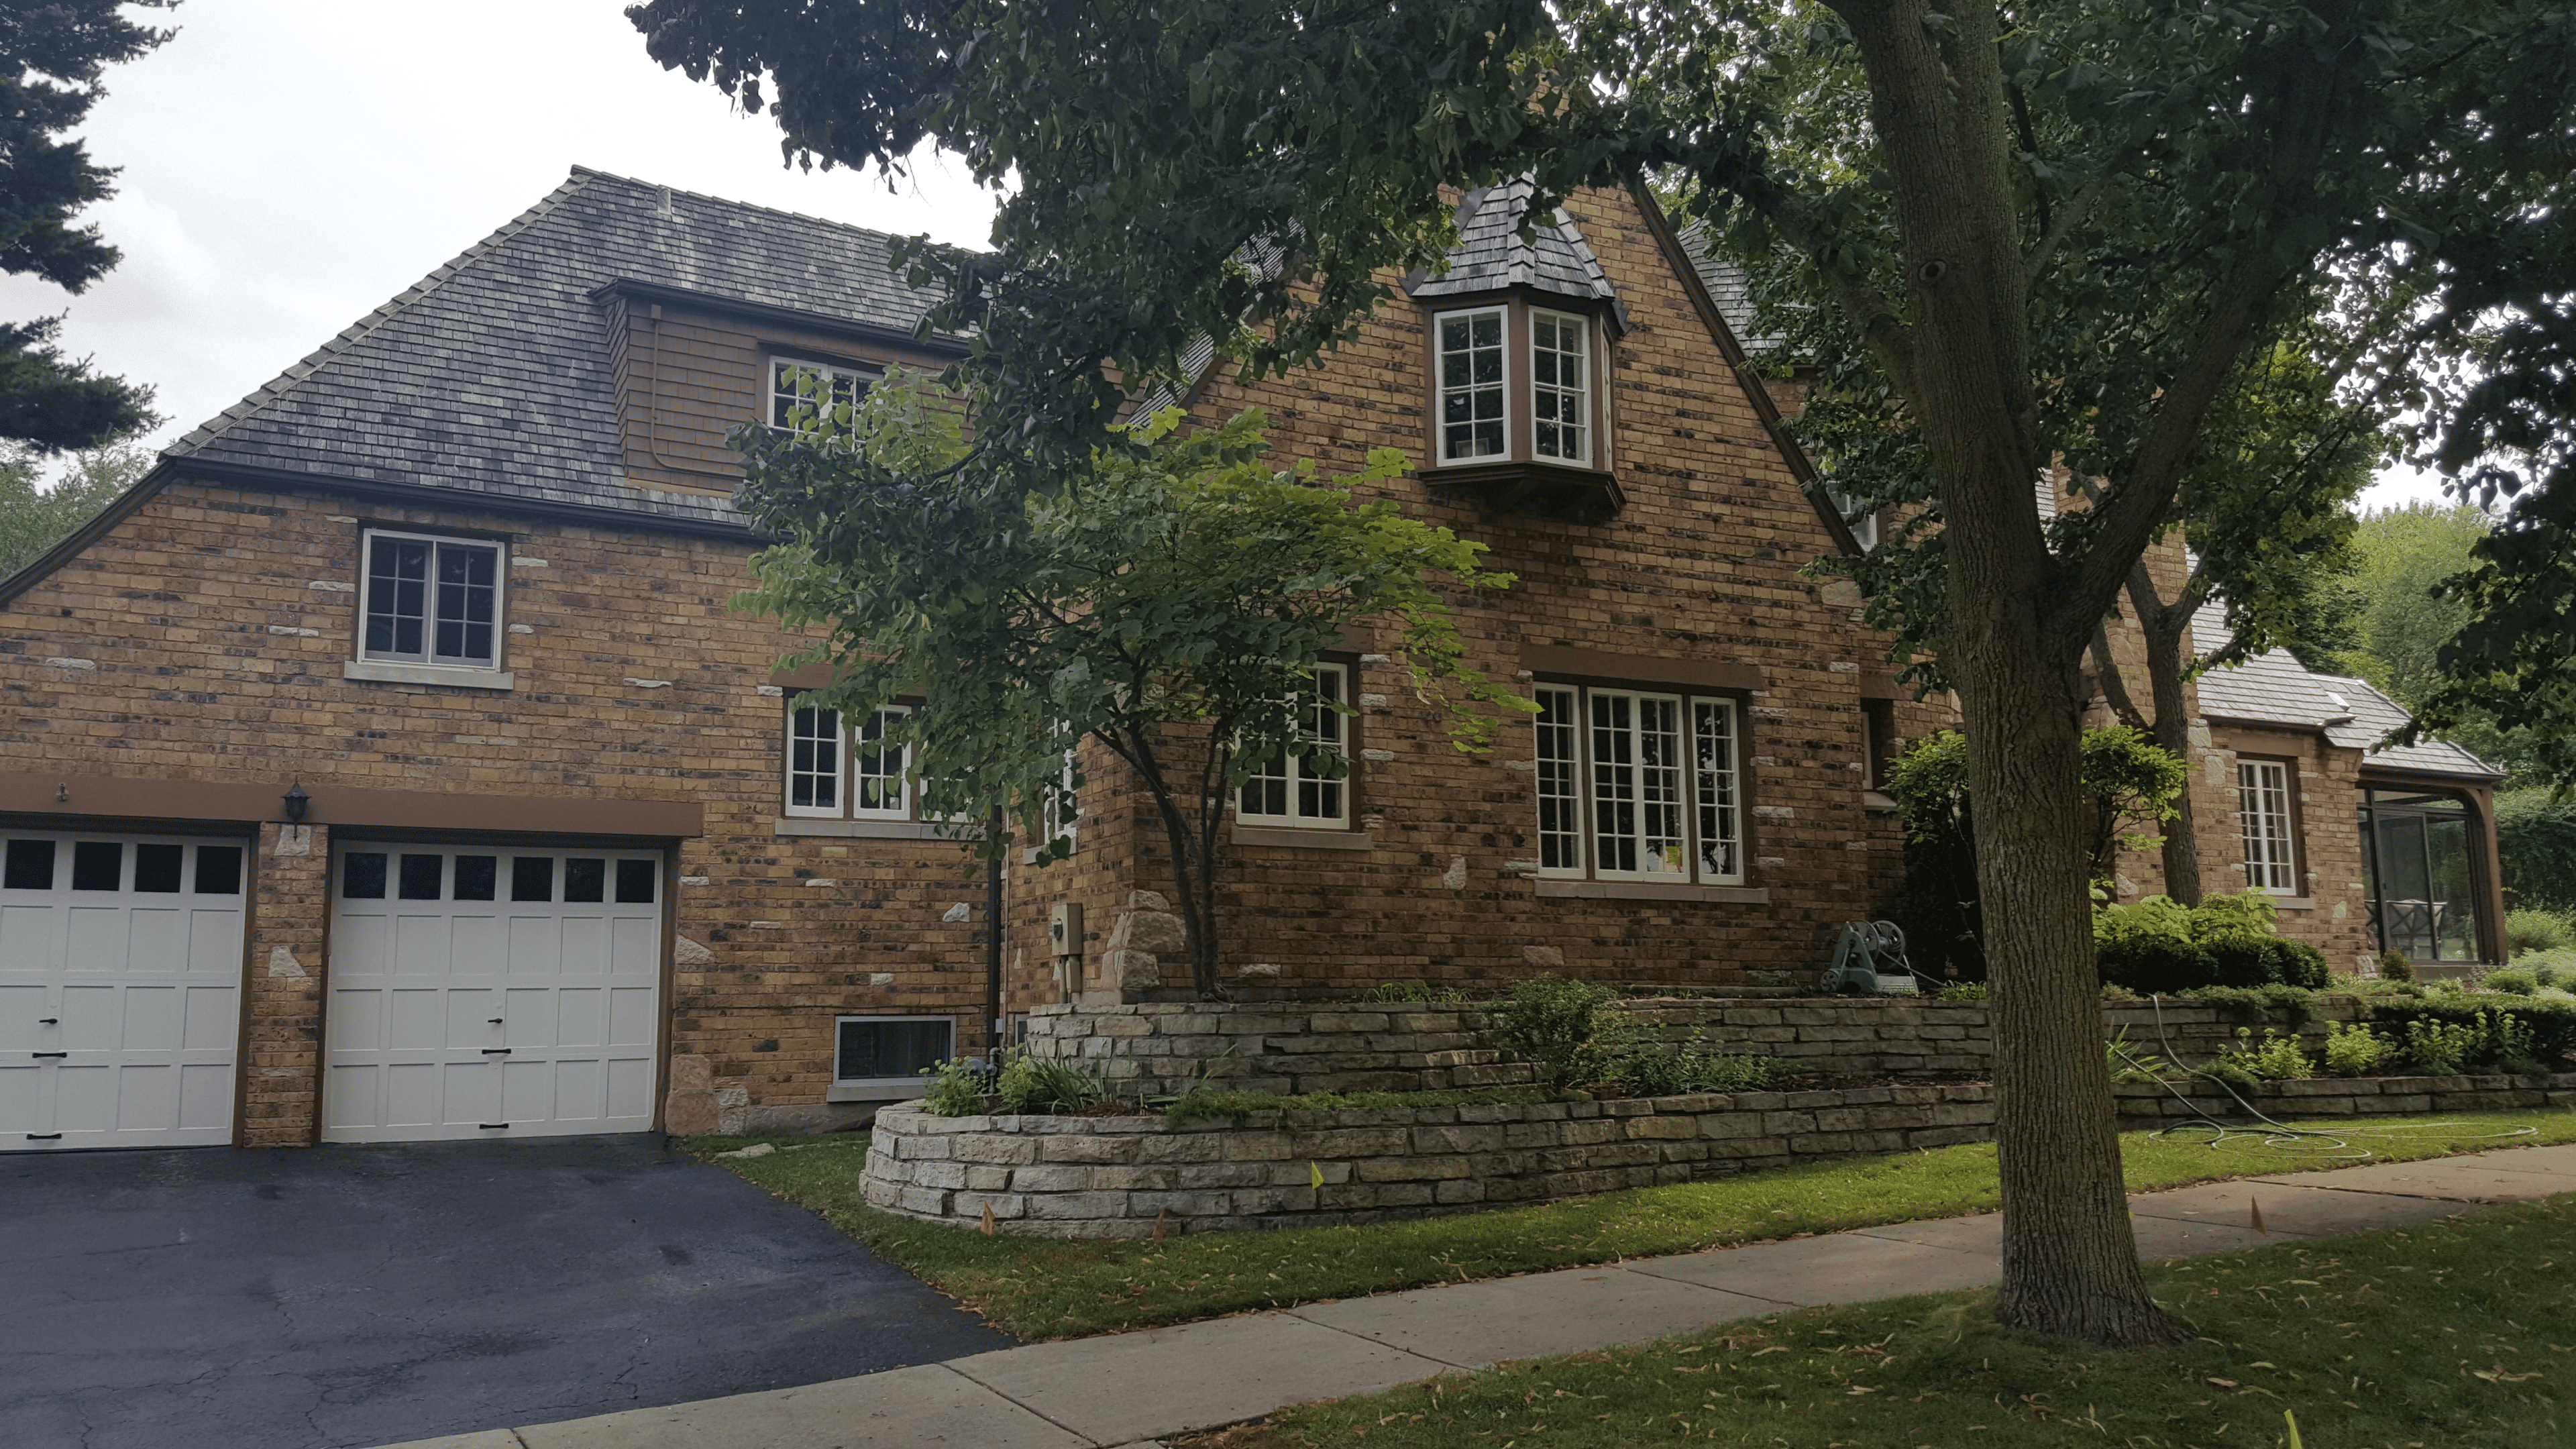
Image Source: Pxhere.com
A big house, especially one with multiple stories, presents a huge undertaking for a solo DIY project. Also, the labor required is pretty extensive when going at it alone since the preparation can be painstaking.
Moreover, the size of the house painting project helps you determine how much paint and primer are required for the entire job. After all, paints are sold in quantities that can effectively cover a specified square footage.
Consequently, take measurements to ensure you do not have to pause the process to run to your hardware store for more supplies. Plus, if you are going for a darker color, a minimum of two coats will do, and this aspect will drive up the cost.
c) Are You Dealing with a Wood, Brick, or Stucco Exterior
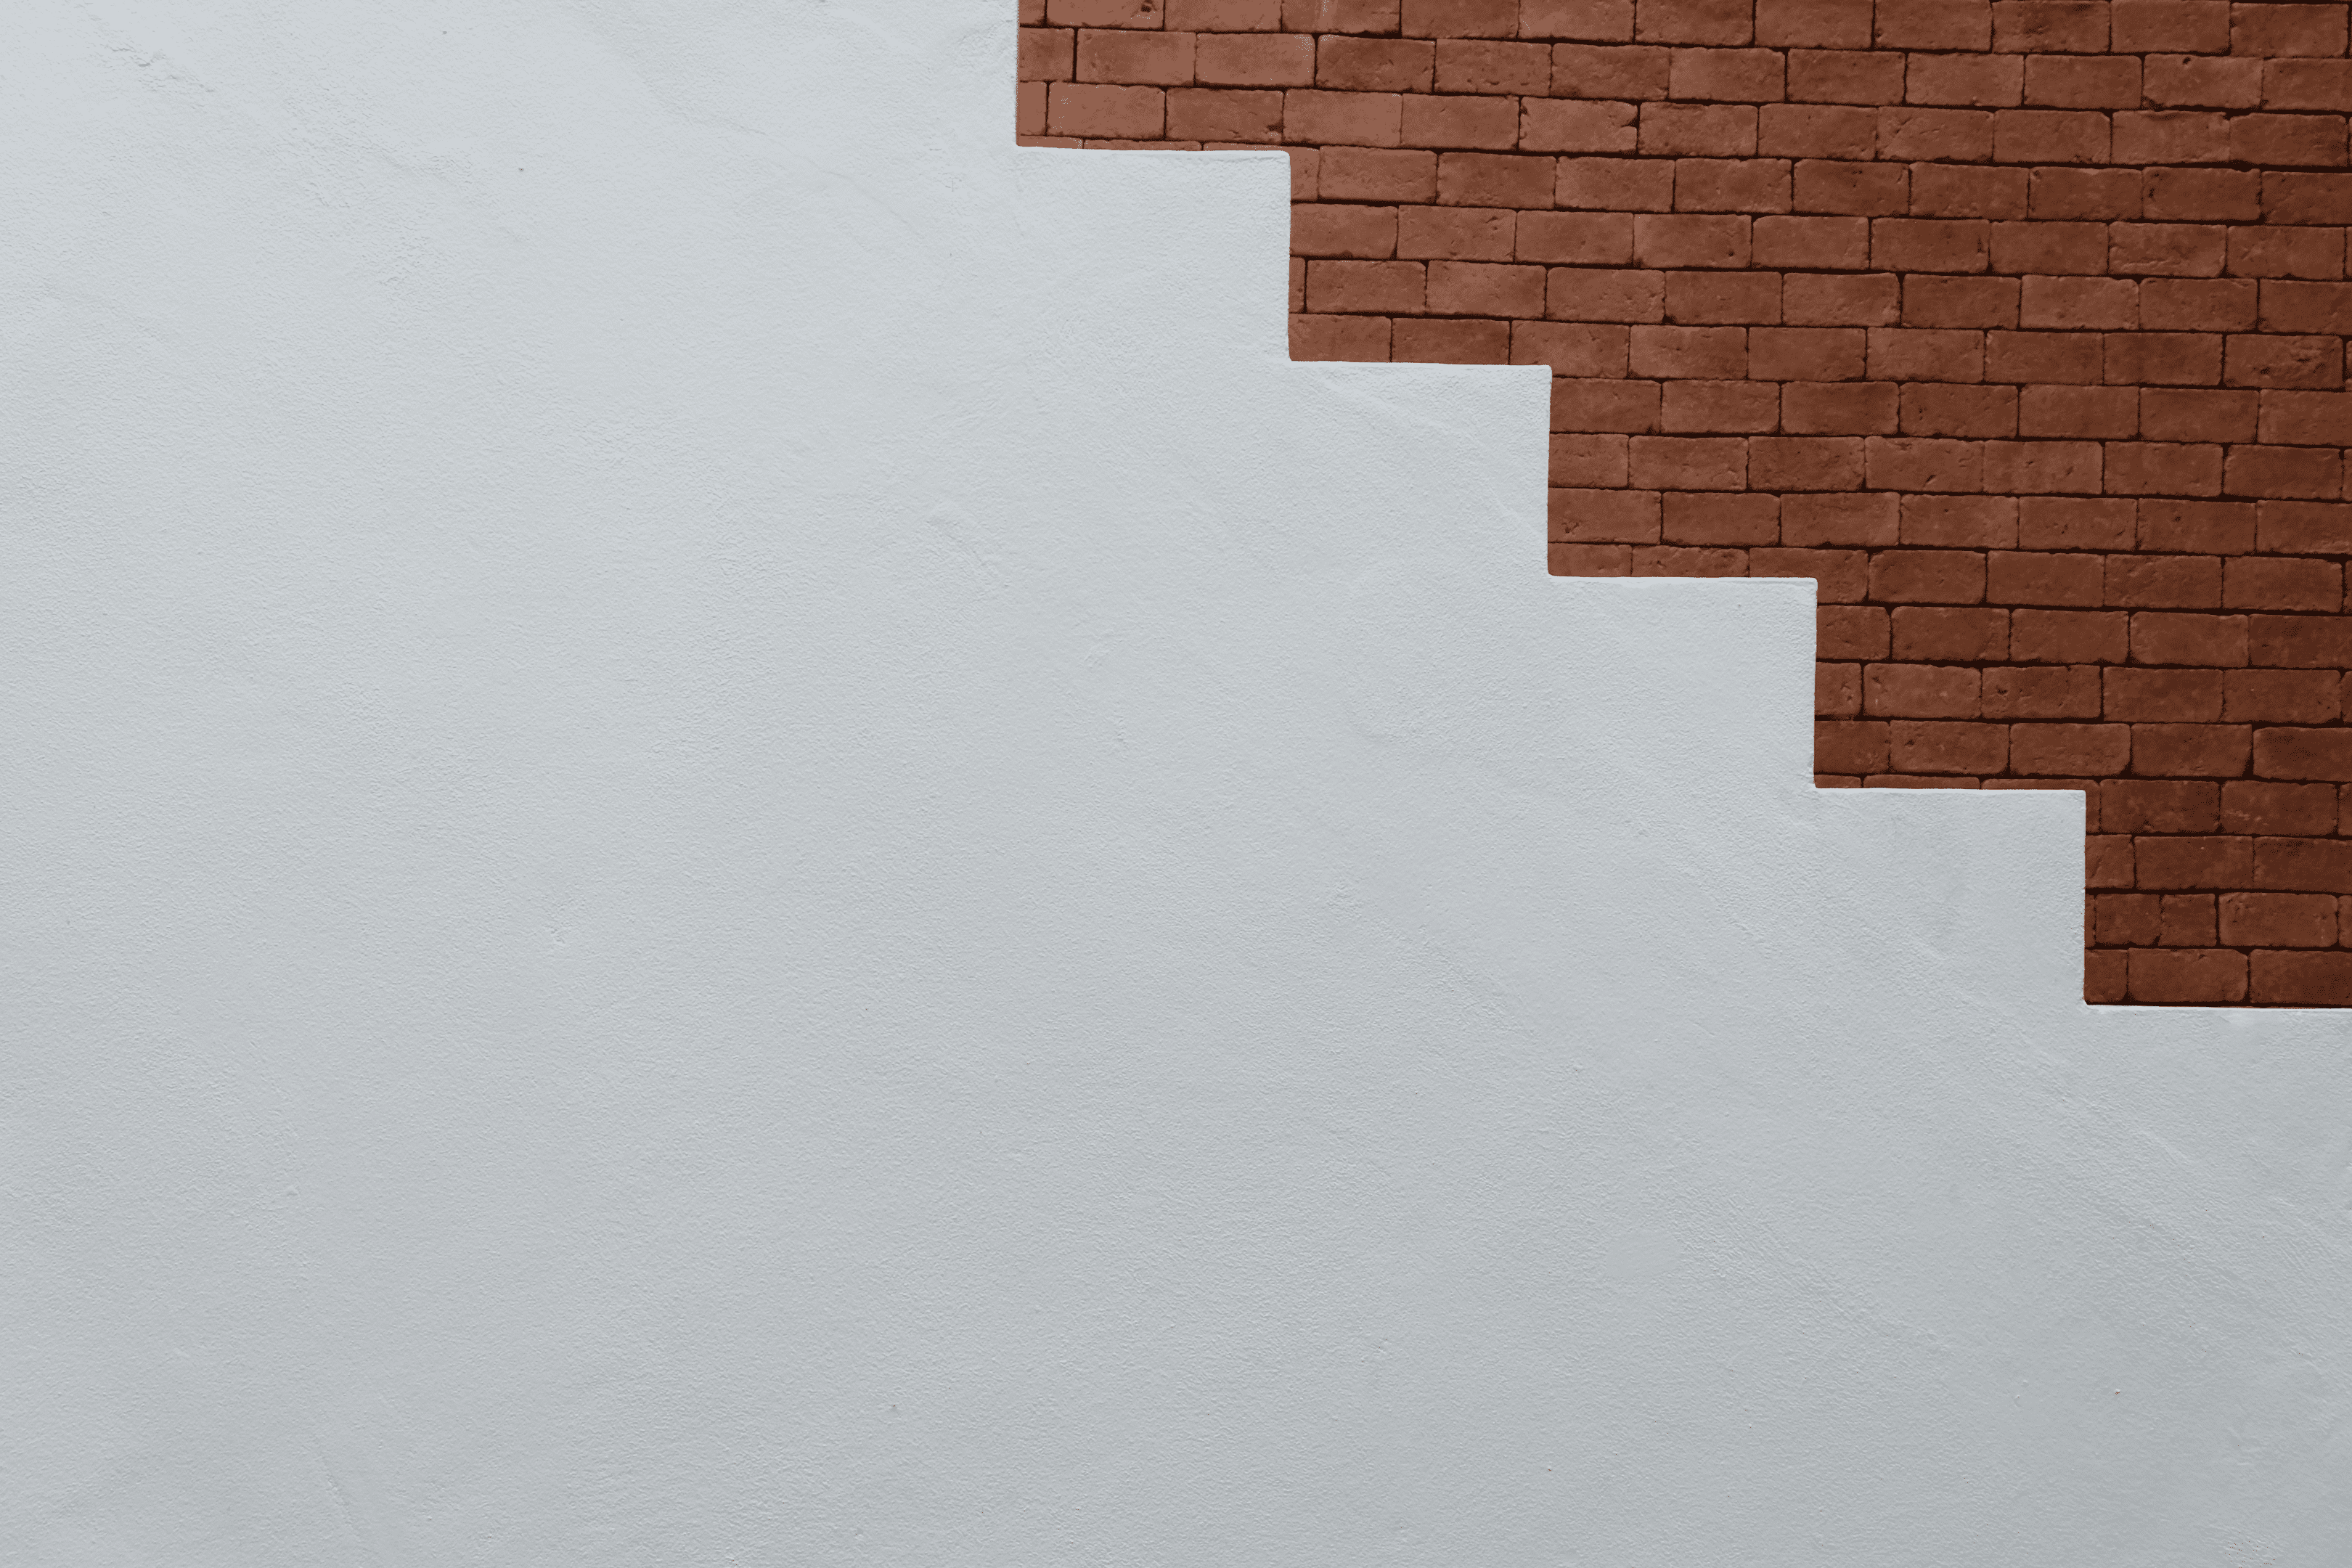
Image Source: Pxhere.com
The material lining your home's exterior should guide you on the paint type. Aim for simple maintenance, vivid color appeal, and ease of cleaning. But ensure it matches the exterior surface.
Moreover, some paints are much easier to apply on certain surfaces and can dry quickly without cracking. Also, the coat of paint must not lose color under direct sunlight or chip away when battered by rain.
Furthermore, materials like wood can absorb water and expand, which causes cracking and rotting. The paint you choose should keep the elements out while allowing the moisture to evaporate so the wood can dry. Hence, focus on top-quality materials for your paint job.
d) Cost, Time, and Skill Considerations

Image Source: Pxhere.com
You can start by asking for numerous quotations for painting your house and compare the overall cost of doing it yourself. Then, ensure you receive a detailed account of the materials and the labor expenses and compare that to running the solo project.
Paint application is labor intensive when you consider the prep work required. Similarly, the tools involved may not be conveniently located inside your garage as they are specialized. Additionally, a larger house can further extend the timelines for a DIY project.
It may make sense to hire a professional painter who can deal with potential lead dust, do significant repairs, and work with the various equipment. Although it may be costly, you can save plenty of time. Plus, hiring qualified individuals can ensure a top-tier paint job.
e) Weather Concerns

Image Source: Pxhere.com
Choose the right day for painting work as the weather can either frustrate or aid your efforts. For starters, ensure you are not working under the direct sun, so decide on the time of day appropriately.
Moreover, the temperatures outside should remain consistent with the relative humidity maintaining about the 50% mark. Do not work if it is raining as the paint requires a dry surface to adhere well.
f) Storing or Disposing of Paint Cans

Image Source: Pxhere.com
Paint cans often have storage information on their labels. Typically, it helps to remove any residue on the rims to allow you to close them properly and not think about struggling to open them later.
Ensure the lids are tight and place the cans away from extreme temperature fluctuations. The substrates will form a hard layer at the top if working with solvent-based paint. Hence, place the cans upside down to keep them usable in the future.
Paints require proper disposal, while others offer recycling opportunities. You can check out the various dos and don'ts of dealing with unwanted remains from the project.
Featured Image Source: Pxhere.com

