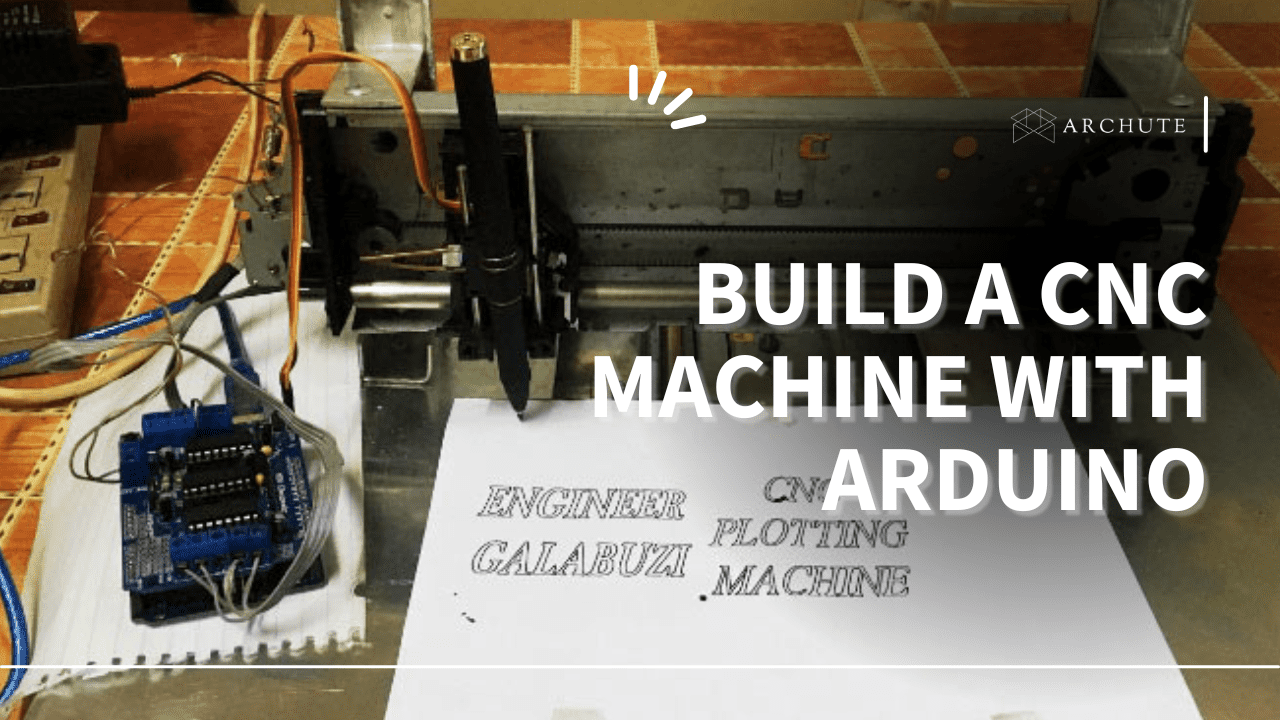
A Computer Numerical Machine (CNC) is a perfect solution for reducing labor costs and getting the job done in less time. However, purchasing read-made CNC systems is quite expensive; to deal with that, you can build your own inexpensive yet powerful machine that will get the job done. So stick around to learn how to build a CNC machine with Arduino from scratch.
Why Build a DIY CNC Machine?

Image Credits: i.all3dp.com
Building your own DIY Arduino CNC machine comes with several benefits. First of all, it is an ideal way to save money. Designing and building the machine by yourself will most likely cost a fraction of what you would have used purchasing a ready-made one.
Again, when you build the machine from scratch, you will better understand how it works and can easily solve any issues during machining. Plus, you can add any additional feature you would like that may not come with the read-made models.
Additionally, it will be an enjoyable project if you are the kind of person who lives to tinker and experiment.
With that understanding, let's dive in and examine why you should use Arduino to build your DYI machine.
Why Use Arduino to Build Your CNC Machine?
When building your own CNC router, one of the most integral parts is to get the best controller for your machine. Arduino is a widespread microcontroller board that will help read and write electrical signals. Arduino CNC shields can be programmed through USB to control almost any electronics project, meaning they will work perfectly for your CNC machine.

Image Credits: i.ytimg.com
While compared to most of the other options, the Arduino is rather inexpensive. Again it is relatively easy to operate, and there is a lot of support available online whenever you are stuck.
The Arduino microcontroller has the power essential to drive stepper motors and run other different functions contributing to a CNC machine's operation. Furthermore, Arduino can control various CNC machines, ranging from 3D printers to laser cutters.
That said, Arduino is the best controller if you want to build a CNC machine. Let's now get started on how to build a simple CNC machine using Arduino.
What You Will Need
To create a CNC machine with Arduino, you will need:
-An Arduino microcontroller
-A stepper motor driver
-Stepper motors
-A power supply
-A frame or base for your CNC machine
Kindly note that these are just the basic electronic components we need to understand how a CNC machine works.
1. Frame or Base
The first step of building the machine is by creating the frame. This way, you will have a structure supporting all the components you add to your machine.

Image Credits: burksbuilds.com
You can build your CNC machine using different methods, but the easiest method is by using aluminum extrusion. Amazingly, you can easily find aluminum extrusion in any hardware store, which is somewhat easy to work with.
Once you have designed and created your frame, you can add your machine's other components.
2. Stepper Motors
When the structure is done, you will need to wire your stepper motor driver to the Arduino. Usually, there are four input pins in the driver, one for direction, one for step, and two for power.

Image Credits: shopsabre.com
You will connect the two power pins to the +5V and GND pins on the Arduino. Then connect the step pin to digital pin 8 on the Arduino and the direction pin to digital pin 9 on the Arduino.
When that is done, you can now connect your stepper motors to the driver. You will connect the black from both motors to GND on the driver and the green wires from the motors to +5V on the driver.
After that, connect one of the red wires from each motor to either direction pins on your driver. Lastly, you will connect the blue wires from the motor to one of the step pins on the driver.
3. Controller
You will need to get the best controllers to control the motion and speed of your machine. The finest and most efficient option is the Arduino Uno or the Arduino Mega.

Image Credits: blog.arduino.cc
If you are a beginner and looking for a simple-to-use and inexpensive option, the Arduino Uno is the ideal option. This option has more than enough pins for a simple three-axis CNC machine. On the other hand, the Arduino Mega is best suited for more complex projects, has enough pins, and can be used for most machines.
Regardless of your option, you will first require installing the Arduino IDE on your modeling computer. When installed, you will connect your controller to your computer using a USB.
After that, you will download and install the GRBL firmware. When that is done, you will now have the necessary control you require to operate your CNC machine.
4. Power Supply

Image Credits: create.arduino.cc
The power supply option you choose for your Arduino CNC machine will depend on the project yopu are working on and the type of machine you are building.
While making an Arduino CNC machine, you will need a 12V DC power supply. This can be an alternating current (AC) or direct current (DC) adapter or a DC power supply.
The for this project, you will also require a 5V DC power supply for the Arduino board, which can be DC to AC adapter or a USB power supply. When using the USB power supply, ensure that you connect the positive (red) wire from the external power supply to the Arduino 5V pin and the negative (black) wire to the Arduino GND pin.

Image Credits: pinterest.com
Additionally, you will need to connect your stepper or servo motor with the power supply. Since you will need four motors to make this specific machine, two for the Y axis and two for the X axis, connecting the power supply using differently colored wires will be effective. However, if necessary, you can always add an additional motor for the z-axis.
You will also need wires of different colors to connect your motors to the Arduino board. You should connect the positive wire from each of the motors to one of the Arduino digital pins (9, 10, 11, or 12). Then connect the negative wire from each motor to one of the Arduino ground pins (GND).
5. Drivers
When building your CNC machine with Arduino, you first need to have the Arduino CNC shield. The CNC shield has 4 A4988 stepper motor drivers, which you will use to drive one stepper motor.

Image Credits: roboticsbd.com
The good bit is that these drivers have built-in current limiting, thermal, and over-current protection, which may protect the circuit generating or transmitting the current from harmful effects due to a short circuit or overload.
For this project, you will need the 4 A4988 drivers and an additional 4 stepper motors. NEMA 17 stepper motors are the best because they come with a step angle of 1.8 degrees and can be driven at up to 2A per phase.
6. Spindle
You can use different types of spindles on your CNC machine. CNC spindle is the beam at the center of the rotating axis of the machine. In some cases, the spindle refers to the whole rotary unit.

Image Credits: i.ytimg.com
Choose a spindle with the revolutions per minute (RPM), power, and cooling you need for your material. For instance, if it's wood or aluminum, a spindle with 24,000 RPM and 1kW power is perfect. For Steel, RPM ranging from 15,000-18000 and power of 5.6 kW will work perfectly for up to 12mm tool size.
7. End-Effector

Image Credits: i.ytimg.com
When building your CNC machine, the end-effector is the component that will be doing the job. This can be anything from a paintbrush, a pen for drawing, or even a router bit for carving and cutting. You will pick the end effector based on the type of machine you are building.
Putting It All Together

Image Credits: howtomechatronics.com
With all the parts set, it's time to get your machine operational by putting everything together. Here are a few steps to follow:
Step 1. Mount the Arduino Board

Image Credits: i.ytimg.com
Mount the Arduino board on the base plate using the screws.
Step 2. Mount the Motor Driver

Image Credits: i.ytimg.com
After the Arduino board is mounted, you will install your motor driver on the back of the board using your screws. Remember to leave adequate room for the wires, which you will connect later.
Step 3. Connect the Power Supply
You will connect your power supply to the stepper motor and the Arduino board using the jumper wires.
Step 4. Wire Up

Image Credits: magnusglad.wordpress.com
You will wire the stepper motors to the drivers when everything is correctly connected. Ensure that your connection is secure before moving on.
Step 5: Test

Image Credits: i.all3dp.com
It's now time to test your machine. Under this step, you will load a G-code onto your computer and send it to your Arduino-based CNC machine via USB.
If it responds positively and everything is working correctly, your CNC machine is ready. Now you are free to move and cut whatever material you wish, and you can make your favorite interior design projects or start up your small business.
Frequently Asked Questions

Image Credits: pinterest.com
1. What Type of Controller Is Used for CNC Machines?
Most commercial CNC machines use closed-loop feedback controls to aid axis movement. The closed-loop controllers will automatically control a system in which an operation, process, or mechanism is regulated by feedback.
While using this closed-loop system, the controller observes the exact position of each axis with an incremental encoder.
2. Which Arduino Is Best for CNC?
The Arduino V3. 51 is one of the best open-source CNC shields for a reason. First, this shield is easy to set up and use, making it a perfect option if you are looking to build a CNC machine by yourself.
Again it has all the needed features and offers great support. Furthermore, it specifically employs an Arduino Uno and only requires a 12-36 volt power supply to drive the motors.

