As you get more acquainted with the process of vinyl-cutting, you may be inclined to experiment a little. A simple thing to try, which is slightly different from the standard vinyl-cutting process, is having different colored layers for your design’s silhouette. But while this task may seem easy from the onset, it can be deceptively tricky if you do not know what you are doing. Let's take a look at what is involved.
How to Cut Multi Color Vinyl with Silhouette
Luckily, there are a few steps to follow to ensure that you do not get tripped up.
Step 1
Choose what different colors of vinyl you want to use before-hand. The number of vinyl sheets will correspond to the amount of chosen colors. After that, get your desired design ready in the illustrating/image-manipulation software of your choice, following the same steps you would typically follow up to this point. Save the file as a PDF, then export it to your cutting software.
Step 2
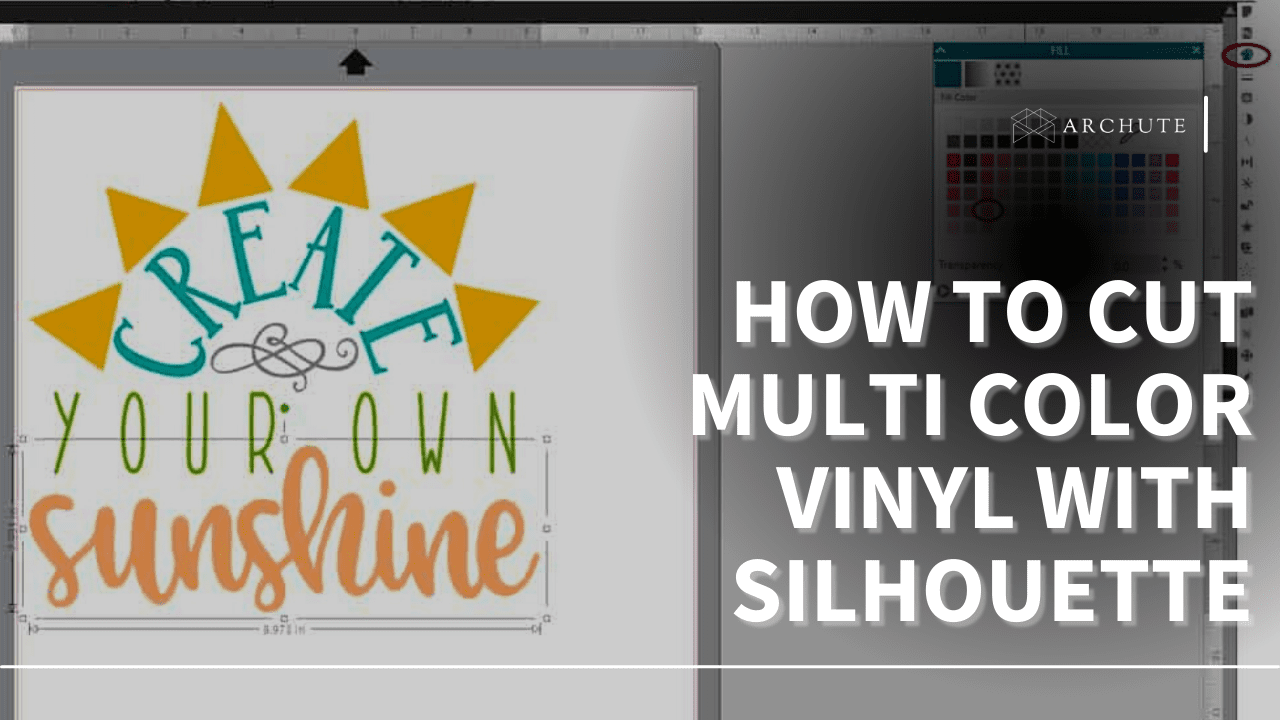
The function you are going to use is called the “cut by fill” function. To start, you need to ungroup your design. To do this, choose the “MODIFY” tool and select “RELEASE.” Your design will now be split into separate objects, which will allow you to pick different colors for each one. To fill different objects with the same color, select them, and choose to group them. When you fill one of those objects, all other objects in the same group will be filled as well.
Step 3
Once you are happy with the design and color choices, click on the “Send to SILHOUETTE” button. Different options will be available to you, but for this process, select the “fill” option. You will now be able to choose the order of colors in which you want them cut. Something important to remember is to make sure that you add a pause after each separate color. Doing so will allow you to switch the vinyl on your machine, and thus allow for the different colors to be printed and cut.
Step 4
After everything has been appropriately set up, you are ready to print. Place the first sheet of vinyl into your machine and select “SEND.” This will print and cut the first color-group. Once the first sheet is done, the process will pause and allow you to switch out the layer.
Final Steps
When all your colors have been appropriately printed out, and you are happy with the final design, follow the standard vinyl-cutting process. Have your vinyl laid out flat on a hard surface, and weed out the border of the design. Always be careful not to pull too hard when weeding as this can potentially tear the design.
If it is going on a shirt, follow the hot-pressing process. Regardless of the process, you will eventually need to carefully peel off the excess plastic of the sticker. And then you are done. Color-silhouetting should be an easy process. But not everyone is cut out for it.