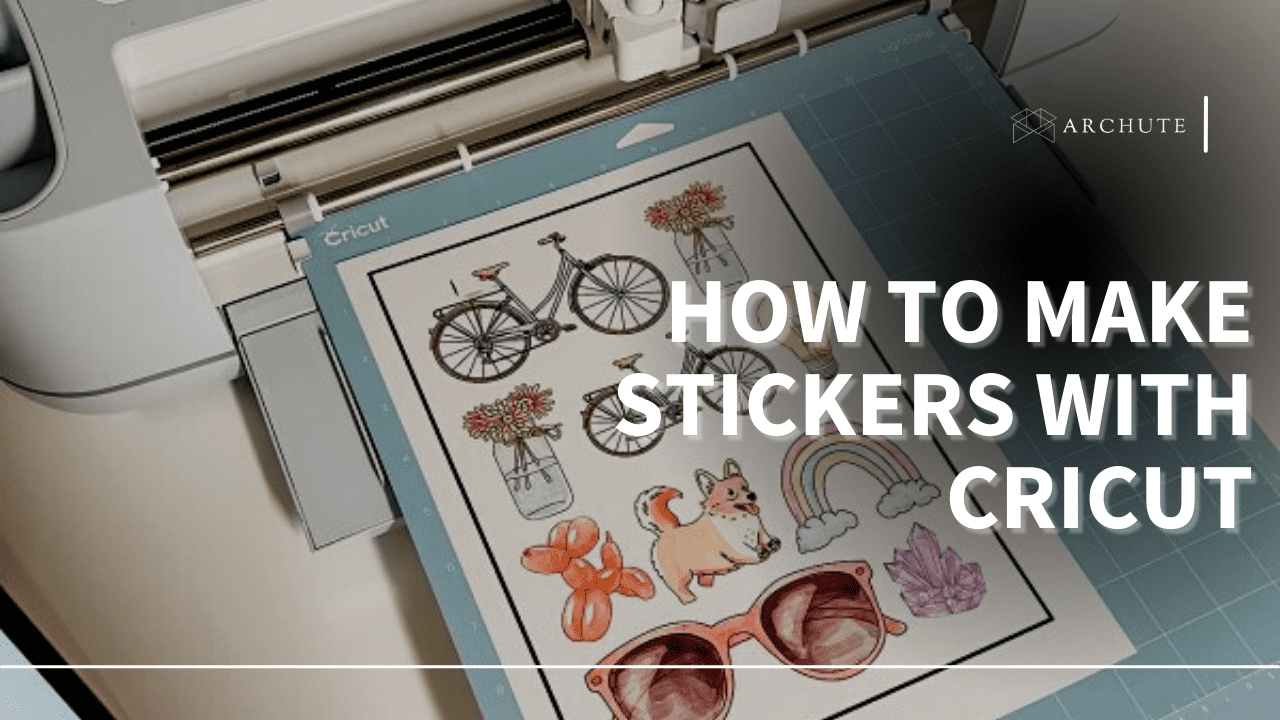
Labeling is a big part of organizing. It is now very easy to make cute stickers with a Cricut machine. With different layouts and designs, you can make any sticker you want. Luckily, it is easy to make stickers with Cricut. Let's find out how to make stickers with Cricut below.
What Is A Cricut Machine?
A Cricut machine is an electric machine you can use to cut stickers. It's the same thing you would do with a pair of scissors; only it's electronic. Most Cricut machines cut stickers from card stock, vinyl, and paper.
Other Cricut machines can cut through leather, cloth, or even wood. That being said, you can make many Cricut projects with your machine. Additionally, a Cricut machine can store designs, perforate, deboss, and even engrave.
The best part about some Cricut makers is that depending on your machine type; you can make designed stickers on over 300 materials. However, the important point is that Cricut machines are not printers. They only cut out the designs you make. Nevertheless, making stickers with Cricut is an awesome way to personalize your belongings.
How To Make Stickers With Cricut
Apart from using a Cricut machine to make fun bumper stickers and labels, you can also use your Cricut machine for branding and logos. Before you start making your stickers, you need the following:
- Cricut explore air 2 , explore 3, or Cricut joy machine
- Inkjet printer
- Cricut printable sticker paper
- Standard grip mat
a) Step 1
On the Cricut design space, click "start a new project." Proceed to select "insert images." A list of image sets should appear on the page. Click on the image you want. You can select one picture. However, you can also select multiple pictures.
b) Step 2
After selecting the image, click on the offset tool on the top menu. A circle should have appeared by now. To make the image smaller or larger, click on the circle and move it left and right. A blue outline will appear on the image and become larger or smaller as you move the circle. There is also the option to type in the size you want your image to be.
You should also notice that the offset tool has two corner options. The angular option should be used for images with an angular shape, such as a triangle. On the other hand, the rounded shape should be used when editing stickers.
After setting the offset and corner options, you prefer (you can also specify the offset on a sticker image), click on "apply" in the small dialog box provided.
c) Step 3
After using the offset tool, you now have two layers: the offset layer and the original image layer. The offset layer at this point will be black. This is automatic, but you can easily change it back to white.
To change the offset layer to white, click on the box in the top menu, and click on "white." It should revert to white.
Sometimes, you will notice that the offset layer will have small holes in the printable image. This is a normal occurrence. However, you have to get rid of the holes, or the Cricut will try and cut through the small holes on your custom print stickers.
To remedy this:
- Go to the operations menu and scroll to the bottom right corner.
- Look for the contour tool and click on it. This will open to a new screen.
- On the screen, select "hide contours." This should solve the problem.
d) Step 4
Select the offset layer and your image using the align tool at the top of the screen. Next, click on "center." Then, at the bottom right corner, search for the flatten tool. The flatten tool will flatten all the layers. Next, select the layers you want to flatten; the offset layer and the image layer.
The image is now ready to print and cut. However, you can also add more images and create many fun stickers. For each image you add, repeat the process we have highlighted above.
e) Step 5
The final step is to try and put in as many stickers as possible so you don't waste space. The print then cut option has a size limit. Therefore, to ensure your sticker sheets are fully utilized, scroll to the left menu.
On the left menu, click "insert shapes" and a drop-down, then click "square." On the size menu at the top of the screen, click the tiny lock icon. This will enable you to adjust the proportions of the square. Set the proportions to 6.25×9.75.
Next, you want to select a template to mimic the size of your sticker sheets. On the top right menu bar, click on the arrange tool. A rectangle will appear on the screen, so click "send back." You can now start arranging your images to fit within the rectangle. After you are satisfied with your work, click "hide" or "delete rectangle."
f) Step 6
Select all the images on your page, and use the attach tool to secure your images where you placed them. Failure to use the attach tool will result in design space sorting the pictures out. You could lose some images this way.
Next, click on "make it." This will show you a preview of how the stickers will look after printing. Finally, if you are content with the preview, click "continue."
Next, click on "print," and then turn bleed off. Use your printer's system dialog to specify the print settings to get good print quality. Specifically, the quality setting should be set to "best." Click "print."
After printing the stickers, attach the page to a standard grip mat. Next, feed the mat into the Cricut machine to make stickers. Before doing this, you should practice the different cuts on the Cricut machine.
Some settings will cut stickers through to the backing. Other settings will leave the backing intact. You now have fun and beautiful stickers to enjoy.
Why You Should Make Your Own Custom Stickers
Making your stickers is great in the long run. Here are some reasons why you should make your custom stickers.
1) High Quality
When you decide to make your own stickers with Cricut, you select all the materials you need. Therefore, you always have the choice to select the best and most high-quality materials. As a result, you will produce a good product with high-quality materials like the best sticker paper.
Additionally, your setup should also be of good quality. The printer, Cricut machine and computer all contribute to getting the best quality of printable stickers.
2) Economical
Making stickers yourself is more economical than doing them at a shop. In the long run, it is cheaper. This comes in handy if you regularly require stickers or labels. Additionally, the initial cost would be setting up the machines, which could be pricey.
However, setting up the whole process from scratch might be expensive, depending on the type of setup you want.
3) Control of The Process
This might be the best part of making stickers. You will have control of the process from the start to the end. Therefore, even if you make errors, there is still room for starting afresh or erasing errors. Additionally, you can make your designs from scratch.
4) Customization
When you have your Cricut machine, you can easily customize your stickers. You can experiment with various fonts, sizes, and colors. With these options at your disposal, the limits for how you can customize your stickers are endless. Apart from creating stickers, you can also create banners and logos.
What Makes a Great Sticker?
i) Catchy Slogan

A catchy slogan will get other people to recognize your work. Good slogans are also perfect for making first impressions. Furthermore, a good catchphrase will resonate with potential clients if you consider making stickers professionally. It will make part of an excellent marketing technique.
ii) Word Play

Clever wordplay will also make your stickers look unique. Puns and jokes are a great place to start for wordplay. You can even decorate your laptop or kids' backpacks. That's the joy of having your Cricut stickers; you can decorate anything.
iii) Big And Bold Lettering

Stylish stickers with creative lettering and bold fonts are eye-catching. When designing your stickers and logos, you should try experimenting with the lettering. It would help your stickers, if you also considered placing borders around your lettering to make it more appealing.
You can also considerthe best font types for your stickers. Remember that big lettering is not the standard, and you could always resize.
iv) Shape

The shape you select for your work is very important. Playing around with the shape will get you better engagement. The most common shapes for stickers are squares and circles. However, you can always go for other shapes, especially if your lettering doesn't stand out. There is no reason your sticker should be boring. It can be business-like, but it can also be fun.
v) Readable Text

What's the point of having a sticker with no readable print? It doesn't make sense. Therefore, every sticker, even simple name stickers, should have a legible print. We emphasize this because it should be readable if you decide to go with lettering for your sticker.
If you have a combination of lettering and images, your lettering should still fit well within the sticker. It should also be readable.
vi) CMYK (Cyan, Magenta, Yellow, Key (black))

The CMYK is a color model on most printers. However, when making your stickers, you need to change the color model from RGB (Red, green, blue) to CMYK. This is because RGB may not print your images correctly. That being said, even professionals refuse to use RGB to print. The CMYK model saves time and produces high-quality print.
vii) Simple Is Best

Simple sticker ideas are by far the best type. Firstly, stickers are visual. Therefore, they shouldn't be very complicated. Keep in mind that a sticker is just to pique interest. Don't cram the sticker with unnecessary information. You want to keep it straight and to the point.
For example, a catchy but simple bumper sticker is perfect, given that you will only see it for a second or two. If it were complicated, you might lose interest.
viii) Colors

Colors are a godsend when it comes to stickers. On the one hand, stickers with many colors are super fun and cute. You could use any color you want because the possibilities are endless. However, on the other hand, professional stickers should only contain a few colors at most. Most of the time, many colors look tacky and unprofessional when it comes to branding.
Frequently Asked Questions (FAQ)
a) Is there a specific Cricut machine I Should Use?
Not specifically. There are different Cricut machines. The Cricut joy and Cricut explore 2, and explore 3, are some of the best. You can also use makers. However, before using your Cricut machine, ensure your design software is up-to-date and is compatible with the machine.
b) Can I Create Images And Patterns Outside Of Design Space?
Yes, you can. There are other platforms, such as Canva and Procreate, where you can custom make your print. You can also use clipart. After creating your designs, you can always import them onto the design space, and print then cut.
c) How Can I Waterproof My Stickers?
There are safe and ready-made waterproof sticker sheets. However, if you run out of waterproof stickers, you can always spray a layer or two of polyurethane spray. After the spray dries, you can easily lift the stickers off. They will be waterproof. However, we do recommend getting waterproof sticker sheets.
Additionally, there are also waterproof vinyl stickers, and some of the best vinyl cutting machines you can use.
The Bottom Line
Making your own stickers is a fun experience. Apart from that, it can also be a lucrative business if you are good at it. Remember that you need to invest in quality materials to have the best quality stickers. Your Cricut stickers will be better than most with the right materials.