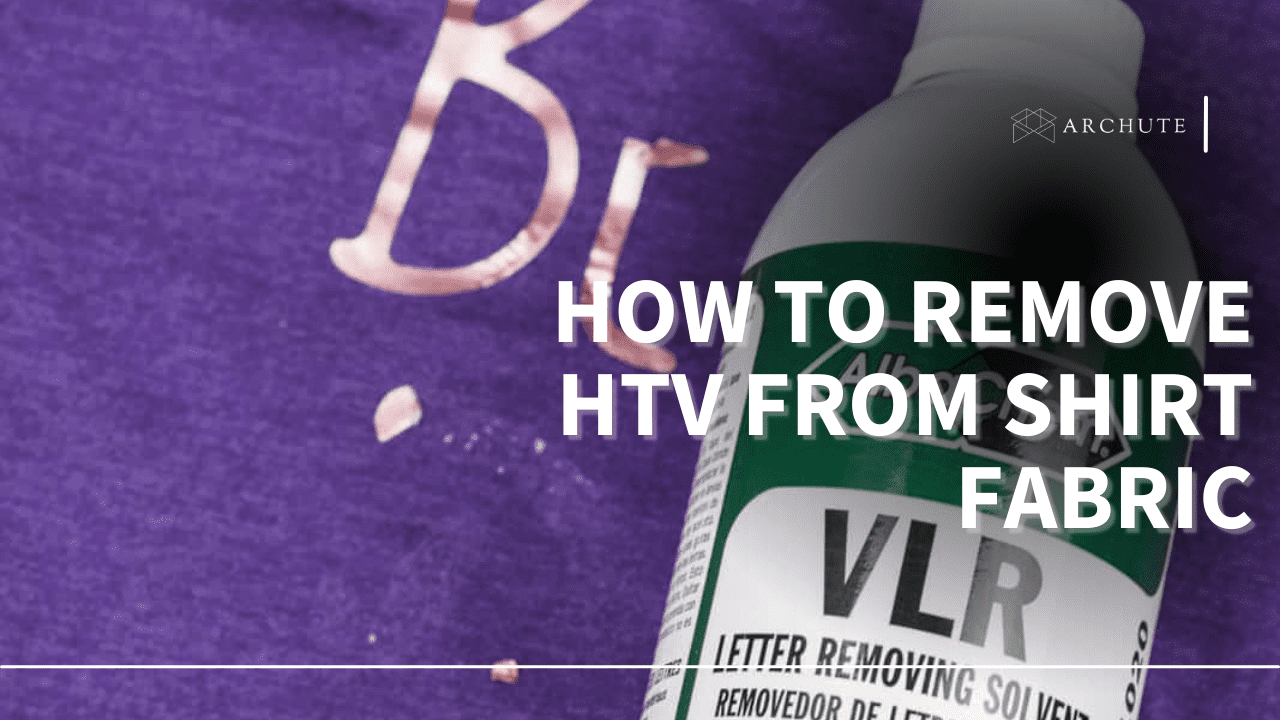
We've all been there - you're probably rushing to finish the t-shirts so you can deliver the order by the date you promised, or maybe you just really need to have those t-shirts ready before your daughter's soccer game. Time is of the essence here and then- oops!! WHAT- ON- EARTH!!!? Throwing all of them away and starting all over again is not even an option. So here we are- how to remove HTV from shirt pieces?
Here are a few very simple, easy, and chemical-free ways to remove that unwanted Heat Transfer Vinyl from a shirt. These methods can also be used in removing heat transfer vinyl that's layered, and most importantly, they are safe. Since some people might be sensitive to specific chemicals, you really don't want to use something someone else might be allergic to because that would create such a bad experience.
Reasons For Removing Heat Transfer Vinyl Design
There are plenty of reasons why a lot of crafters may need to remove heat transfer vinyl from a shirt. Here are a few reasons why:
a) You've made a mistake while applying for the vinyl transfer on the t-shirt but don't want to scrape away the project. Removing the vinyl artwork is a lot easier than you starting the project from scratch.
b) To revamp old clothing projects. You probably have an old shirt that you're still holding on to since the 9th grade. Remember that old saying? Waste not, want not. Instead of throwing all those old clothes away, why not give them a whole revamp? You might actually end up with a whole new wardrobe makeover without breaking the bank.
c) Recycle materials. If you're a passionate and responsible crafter, learning how to remove some of that heat transfer vinyl can save you a lot and make a real difference. You just throw away those shirts and bags away because of that unwanted HTV. Let's save those t-shirts!
d) It's quite simple to do it anyway. You really don't need to be a garment and design expert to know how to remove a heat transfer vinyl application.
What Supplies Will You Need?
If you want to remove an already-pressed HTV vinyl, you'll only need different items for each method, these include:
- A pair of scissors or X-Acto knife or razor blade or sharp knife
- Tweezers
- A hot iron box or hair dryer and steamer
- Petroleum Jelly or Goo Gone (if necessary)
- Rubbing Alcohol
- Wet towel
- Nail polish remover
- Adhesive remover
Steps for Different Methods
A. The Iron Technique
Here's how you go about the iron method to remove any unwanted heat transfer vinyl transfers:
Step 1
If possible, always try to remove the HTV mistakes as soon as you realize the mistake.
Note: For this to work, you will need to apply heat on the heat transfer vinyl using your iron. You'll need to be extra careful with this and apply the right temperature that's best for that specific fabric.
Since you don't want to melt away your garment, make sure you're using the appropriate heat setting. Try not to use high heat, especially if your garment is not linen or cotton. It's best to read the care instructions of that fabric before heating it.
As a general guide, here are some set temperatures that can be used for different types of materials;
- Cotton- 302 or setting 5
- Linen-302° F or setting 5
- Nylon - lowest setting possible since this material burns quite easy
- Polyester -275 ° F or setting 3
Step 2
Set the iron directly on the vinyl to slightly warm it up. Then turn your iron onto the cotton/linen setting or its hottest temperature setting. Next, place the iron in the t-shirt inside so that its hot surface is placed directly on the backside of where your vinyl decal is attached. Most of the time, this will mean putting your iron inside the t-shirt. Also, be careful not to burn yourself.
Step 3
Place the area you want to remove the heat transfer vinyl over the hot iron plate, then pull tightly using the other hand.
Step 4
Plan A: Using The Pair of Scissors, X-Acto knife, or Razor
Using either a pair of scissors, X-Acto knife, or razor, using a sweeping motion, gently pick away the HTV vinyl you want to remove, starting from the top of the heat transfer vinyl design. The vinyl material might come off in chunks; just keep picking at it.
You'll slowly notice that the vinyl starts to peel off easier after its hot setting. From this point, you can either continue to use the scissors or grab the tweezers and pull off the HTV. Since it's on the hottest setting, try not to burn your hands. At some point, the vinyl will peel off like butter.
Pro tip: Use the rubbing alcohol to clean your pair of scissors throughout the process.
Plan B: Using Goo Gone
Yes, you want to try and do this as chemical-free as possible, but in some cases, you might need a little extra help here, especially if the HTV vinyl isn't easily coming off. In this case, we'll use the Goo Gone also to get the adhesive residue off. Compared to other heat transfer vinyl remover options and popular chemical solvents, this is great since it's not harsh and has a pleasant smell. However, if you have your reservations about this method, there are plenty of other methods.
However, if you choose to continue, spray the Goo Gone directly on the area you want to remove HTV mistakes. Both on the front and the inside of the garment. After this, start picking the vinyl from the corner, lift it up and then peel it off. In other instances, since the HTV vinyl is meant to stay put, it's likely not to budge as easy, so you'll only get small bits off at a time. Next, you'll need to apply more heat and more Goo Gone and repeat the process until it's all out.
Plan C: Using Petroleum Jelly
We all have it in our homes- good old petroleum jelly! The petroleum jelly helps to loosen up the adhesive backing. In the process of removing vinyl, you'll need to apply a small amount to the adhesive stain. After which, you can take a sensitive detergent simply rub it in a circular motion onto the jelly. The adhesive on the shirt should clump up right off. When it finally does, take the shirt and rinse it off with the hottest setting water temperature the shirt fabric tag recommends. Again, the jelly and detergent should rinse right off the shirt. You can repeat this process until all the residue left comes right off the shirt.
Step 5
After successfully removing the entire design, all the heat transfer vinyl and adhesive residue, you can then go ahead and clean the garment from inside out before reapplying the new designs.
Pro-tips To Consider To Remove Vinyl?
So that you don't ruin your fabric, be sure to:
- Carefully use Goo Gone – Only spray it on material that's fully cooled. Don't use Goo Gone on leather or silk since it will damage your fabric
- When removing HTV, don't use a heat press since it won't work well, stick to the iron
- Wash the garment before attempting the process again since it will loosen up the HTV and make it much easier to remove heat transfer vinyl
- Always be careful with the dryer, so be sure to check the best temperature to use on the material of your shirt
- If you used any chemical solvent ( e.g., vinyl letter remover) or adhesive remover to partially remove the vinyl from a shirt, then you should wait for at least 24 hours to make sure that the rest of the vinyl is set again. Afterwhich you can press what you originally wanted on your shirt
- Also, remember that this technique will only work with iron-on transfers, not on heat press
- Additionally, make sure that the material is also not heat sensitive
Frequently Asked Questions On How To Remove Heat Transfer Vinyl From A Shirt
1. How to remove vinyl residue?
- Get a paper towel and drench it with a few drops of rubbing alcohol or white vinegar since both safely dissolve to remove vinyl residue without actually destroying the vinyl from a shirt
- Wipe using the drenched paper towel inside and over the vinyl surface
- Repeat the process until the tape residue is all off and allow to air-dry in a well-ventilated area
2. How to remove vinyl glue from a shirt?
To remove vinyl glue, you'll need to soak the glue in cold water, then blot it using a wet sponge. If the glue doesn't budge, apply some acetone or acetone-based product using a cotton swab. Starting at the glue's seam and then working outward, carefully. Additionally, don't apply too much on the fabric, so blot away any excess acetone and softened glue using a cloth.

