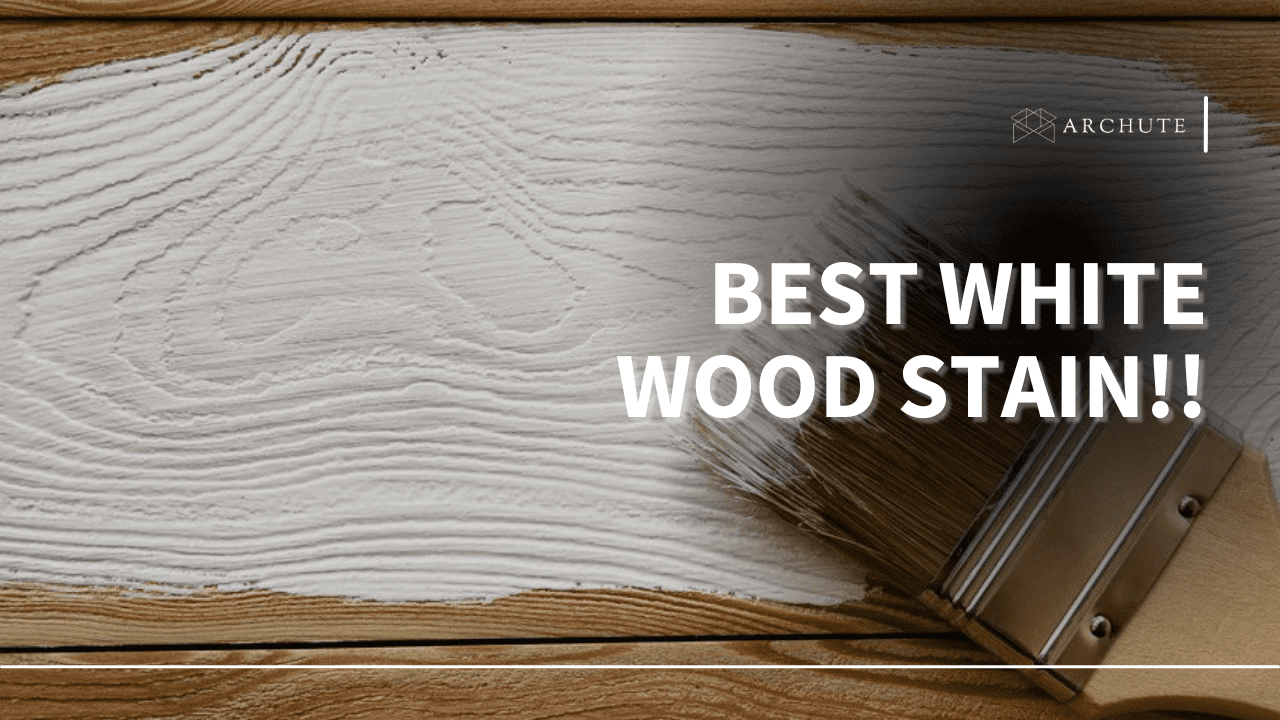
If you own some old furniture that needs repainting, you may need to read this article. Here, we discuss how to remove paint from wood step-by-step.
If you are planning to repaint a piece of furniture or remodel a house, you'll need to know how to remove the old paint first. This way, you can repaint your wooden surface with ease and effortlessly.
If you want to remodel a house, you can also check how to remove paint from brick. We all know that no matter how new the paint is, it eventually becomes old.
The best way to deal with old paint is to start afresh. The ideal way to start afresh is to strip paint from that piece of wood.
There are various methods you can use to strip paint from wood. So, we shall discuss the various options and let you decide which one you prefer. However, before that, let's discuss the step-by-step process of removing paint from wood.
How To Remove Paint From Wood
Before repainting, you will need to remove the old paint from surfaces. Some of the reasons you need to get rid of the old paint include; changing the paint from a solid type to transparent. You may also want to change from semi-transparent to a different shade.
Let's go through the steps.
Requirements
- Paint scraper
- Paint stripper
- Sandpaper
- Work gloves
- Safety glasses
- Respirator
- Paintbrush
- Rags
- Steel wool or wire brush
- Water
1. Be Sure The Wood is Worth Stripping
Some wood types get worn easily, so stripping them will leave nothing to be repainted. So, before you strip paint from a piece of wood, please test a small area to ensure it is worth your time.
If the wood is not well maintained, it is more susceptible to rotting and wearing out. If it is rotten, you may have to treat it before repainting.

Image: Freepik
Rot is among the most common problems associated with wood. Dry rot spreads faster than wet rot and easily ruins wood. You can detect dry rot by noting spore dust, a musty scent, or even the appearance of fruiting fungus bodies.
On the other hand, wet paint tends to occur where moisture lurks. To test for wet rot, poke a small portion to see if it is spongy. Other problems include signs of shrinkage and warping.
You can eliminate the cause of moisture before stripping. To repair the wood, fill small holes and cracks, let it dry then do the sanding. You can get epoxy wood filler for repairing rotten wood to keep your wood surface as good as new. If the wood is extremely damaged, the best thing to do is replace it.
2. Check For Lead Traces
If you are remodeling a home, check when it was built. It is more likely to have lead-based paint if built before 1978. The dust from lead can be toxic, especially once you start scraping it off.

Image: Popular Mechanics
If you think you may have lead paint on that wood surface, get it tested before you start stripping. You can use a DIY kit to test for the presence of lead. If it tests positive, you may need a professional to help you.
Ways of Testing Paint for Lead
You can test paint for lead using the following methods;
a) DIY Test
Make a V-shaped cut through all the paint layers you want to remove. Brush the groove with a LeadCheck swab and check the color. If the color is bright red, it indicates that lead traces are present in the paint.
b) Lab Test
Lab tests are usually more reliable than any other method. However, you may have to wait up to two weeks to get the results. To use this method, scrape a tablespoon of chips into a bag and send it to a lab.
c) Call a Professional
You can also opt to call a professional instead. A licensed lead inspector, if called, will conduct an X-ray fluorescence test. This test identifies the amount of lead on your home's painted surfaces.
3. Remove Protruding Nails
The wood will likely have nails, screws, or doorknobs, depending on your work. So, ensure you remove anything that could interfere with your work by covering other non-removable parts not made of wood with protective tape.

Image: Upgraded Home
Before you start removing the paint, assess the condition of the wood. This helps you to determine how much of the previous coating needs to be removed.
Once you have assessed the surface and seen how much work needs to be done, you can select your preferred way to remove the paint. For example, you can skip the stripping part for minor jobs and simply use sanding instead.
For more technical projects, you may need to use paint strippers.
4. Apply the Paint Stripper
If there is anything beneath the wood surface, ensure you protect it. This can be wall edges, doors, windows, or even floors. You can even use old newspapers to protect the surface beneath.

Image: YouTube
Please read the instructions on the paint stripper container carefully before using it. Next, shake the can well and pour a small amount into the shallow tin. Finally, use a paintbrush to apply the paint stripper liberally. Ensure you concentrate on small sections at a time.
Let the stripper rest on the painted surface for up to 20 minutes until it starts bubbling and peeling off. However, if you are dealing with more layers of paint, you may need to leave the paint stripper on for a few hours. However, you can keep checking it to see whether or not it has softened.
Ensure you don't leave the paint stripper to dry on the wood surface. It can be extremely challenging to remove once it dries.
5. Scrap Off the Paint
Once the paint has softened, use a scraper to remove as much paint as possible from the area. Work gently to avoid gouging the wood. If the paint and stripper do not come off easily, give it more time to soften.

Image: Promain
You can repeat the process when you have removed as much paint as possible with the scraper. But this depends on the paint that will come out on the first attempt.
If you want to repeat the process, reapply the stripper on stubborn paint residues and let it rest before proceeding to scrap it off.
Another thing to do is to ensure you get to those hard-to-reach areas. Any raised or recessed areas can be hard to reach and likely to give you a little trouble. Spread the stripper on the given parts and let it rest for 20 minutes.
Next, scrape off the paint with a wire brush or steel wool. This ensures you reach even the depressions and folds.
6. Wash and Sand the Wood
Though you can easily be tempted to ignore this last step, it is crucial. In this step, you ensure you eliminate all free and loose particles like dirt and all other debris.

Image: Popular Woodworking
Another benefit of sanding after scraping is that it gives the wood a consistent surface for accepting paint. These steps may be labor-intensive, but if you want your wood project to be successful, you will want to follow all the steps.
After scraping, wash the wood with a clean water-soaked rag, then sand the whole surface. You can work with a power sander if you have access to one. It makes sanding broad and flat surfaces easier and simpler. However, you will still need to manually sand carved and fragile wood parts.
Lastly, wipe the wood to remove all residue left from sanding. If you do not plan to paint immediately, use a damp piece of cloth to ensure all particles are wiped out.
On the other hand, if you plan to paint the wood immediately, ensure it is completely dry before repainting. Also, you can check some of the best paint for wood crafts to have options when buying paint.
Methods Of Removing Paint From Wood
a) Heat Guns
Did you know that heat guns are among the simplest ways to strip paint from the wood surface? A heat gun has precise and very powerful high-temperature airflow and this high-temperature airflow can easily incinerate paint by blowing it off.

Image: resin-expert
Once you blow the paint with a heat gun, you will see it forming bubbles. This, in turn, makes it easy to scrape off.
Using a heat gun, however, is risky as the bubbles could damage the wood or ignite a fire. Because it comes with some risks, it is important to practice before using it.
Precautions to Take When Using a Heat Gun
- First, you will need a fire extinguisher nearby in case the heat gun ignites a fire.
- Wear protective clothing like heat-resistant gloves to protect your hands. Also, long sleeves will help as they will keep your arms protected.
- Ensure you don't point the heat gun toward people who may be in the blast radius of the heat gun.
- While working, keep the hot air gun to a minimum distance of 36 inches from anything flammable.
b) Sanding
Sanding is quite labor-intensive, so it is only suitable for small projects. However, your work will get a little easier with an industrial wood sander.

Image: resin-expert
Sanding also works extremely well on old paints. Work slowly and steadily. Also, regardless of your method, ensure you have protected the wood surface with the right sandpaper.
You will also have to use elbow grease for a perfect sanding job. Using just a little effort will not suffice.
c) Chemical Paint Stripper
If you plan to strip paint from some wood, this is one of the best options to use. For example, a chemical paint stripper will help when working on carved wood surfaces with hard-to-reach parts.

Image: Pinterest
If you compare this to the other methods, you will realize that it has the best results. Also, using a paint stripper will ensure you smoothen the wood surface.
When using chemical paint strippers, avoid any products containing methylene chloride. The product is not safe, and EPA has already banned its distribution.
Precautions to Take When Using a Chemical Paint Stripper
When using a chemical paint stripper, you must take certain precautions to ensure you don't get hurt. Some of these safety measures to apply include the following;
- Ensure you are not in direct exposure to heat sources like radiators
- When possible, use a ventilation fan
- Read and follow the instructions given
- Wear protective clothing and equipment like safety goggles, rubber gloves, and a mask
It is important to know that although chemical paint strippers do a wonderful job, they can contain harmful chemicals. Such chemicals can be harmful to your health and the environment.
d) Pressure Washing
For large outdoor projects, you may need to use a pressure washer. Such large projects include removing paint from a wooden deck or fence.

Image: Mi-T-M
Before you remove paint with a pressure washer, ensure you protect any water leakages in the house.
e) Scraper
Scrapers also work as excellent paint removers for hard-to-reach areas and other small tasks. The best thing about paint scrapers is that they are non-poisonous and environment-friendly.
Also, before using them, ensure you read and understand the instructions well, then follow them strictly.
f) Using Baking Soda
Baking soda is a great alternative to use when stripping paint. To use baking soda, boil a little amount o water with the baking soda.

Image: Pinterest
Let the solution boil for up to 20 minutes, then use it to remove the paint from the wood. First, you should know that using baking soda is more time-consuming.
Frequently Asked Questions on How to Remove Paint From Wood
1. Can you sand the paint off the wood and stain it?
You can easily remove stains, varnish, and loose paint by sanding, scraping, and using chemical strippers. However, if you want to remove finishes quickly from large areas, you can use a random-orbit sander instead.
2. What kind of sandpaper should I use to remove the paint?
Opting for the right sandpaper grit is crucial if you want to remove paint effectively. You can use 40-60 grit sandpaper for best results when removing paint from wood. However, for edges and details, finer grit sandpaper works better. Therefore, you can opt for 80-120 grit sandpaper.
3. What can I use to get dried paint off of wood?
Using chemical strippers, sanding, or heat guns, you can remove dried paint from wooden surfaces. If you opt for a chemical paint remover, apply the product and give it a few minutes to settle. Then, use a paint scraper or a putty knife to scrape it.