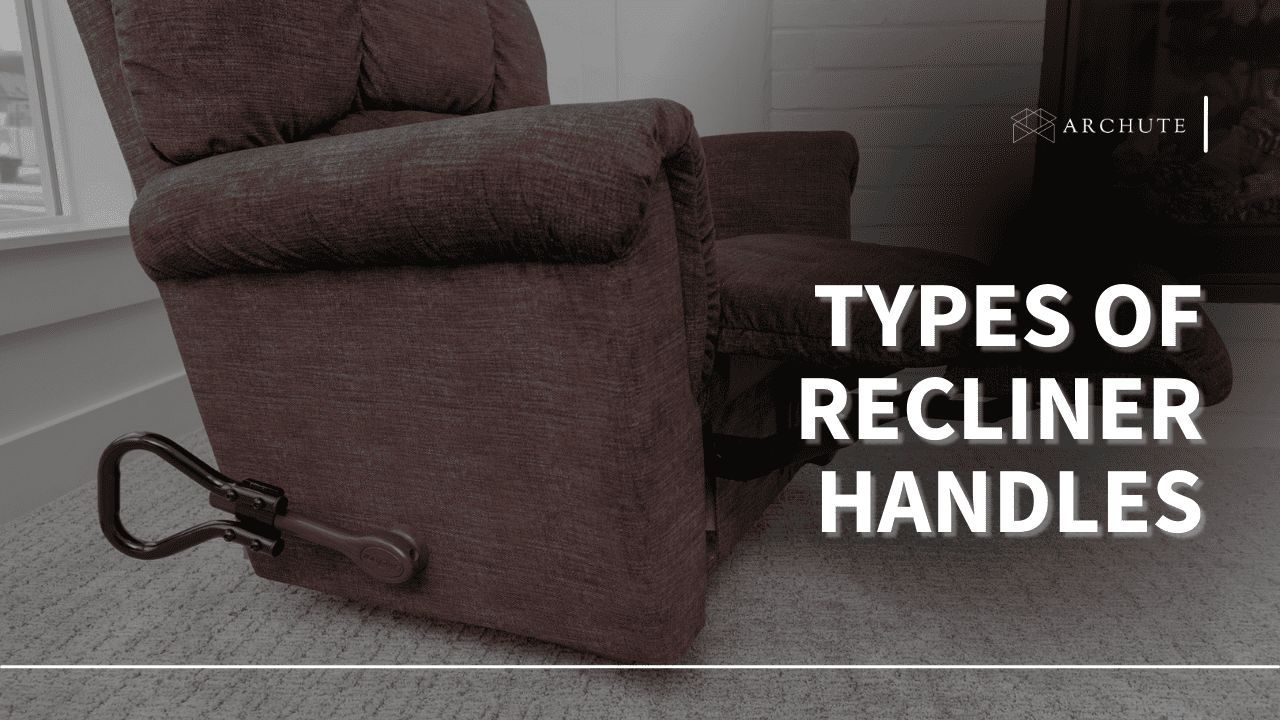
Recliner chairs are a popular choice for people who want to unwind and relax after a long day, and some recliners are also great for back pain relief and lumbar support. They are available in different sizes, shapes, and designs. But one of the most essential features of a recliner is its handle. The recliner handle allows you to adjust your chair’s position, making it more comfortable for you.
Various types of recliner handles are available in the market, each with unique functionality. In this article, we’ll discuss the various types of recliner handles to help you choose the right one for your needs and how to fix or replace them if they are not functioning as they should.
What is a Recliner Handle?
The recliner handle is a mechanism used to adjust the recliner at different positions. It provides the required angle for maximum comfort. Recliner handles are mainly located at the side of the recliners, so you can easily operate them.
They come in several shapes and sizes and are also different in functionality. For instance, some you can pull, while others you can press to change the recliner angle. Also, various recliners, including glider recliners, swivel recliners, rocking recliners, power recliners, and lift recliners, have different types of handles.
Types of Recliner Handles
1. The Lever Handles
The lever handles are one of the most common recliner handles. They are made of basic materials, including wood, plastic, and metal. The lever-style handle is easy to use and requires minimal effort; pull it back to open your recliner to your required position and push it back to the original position.
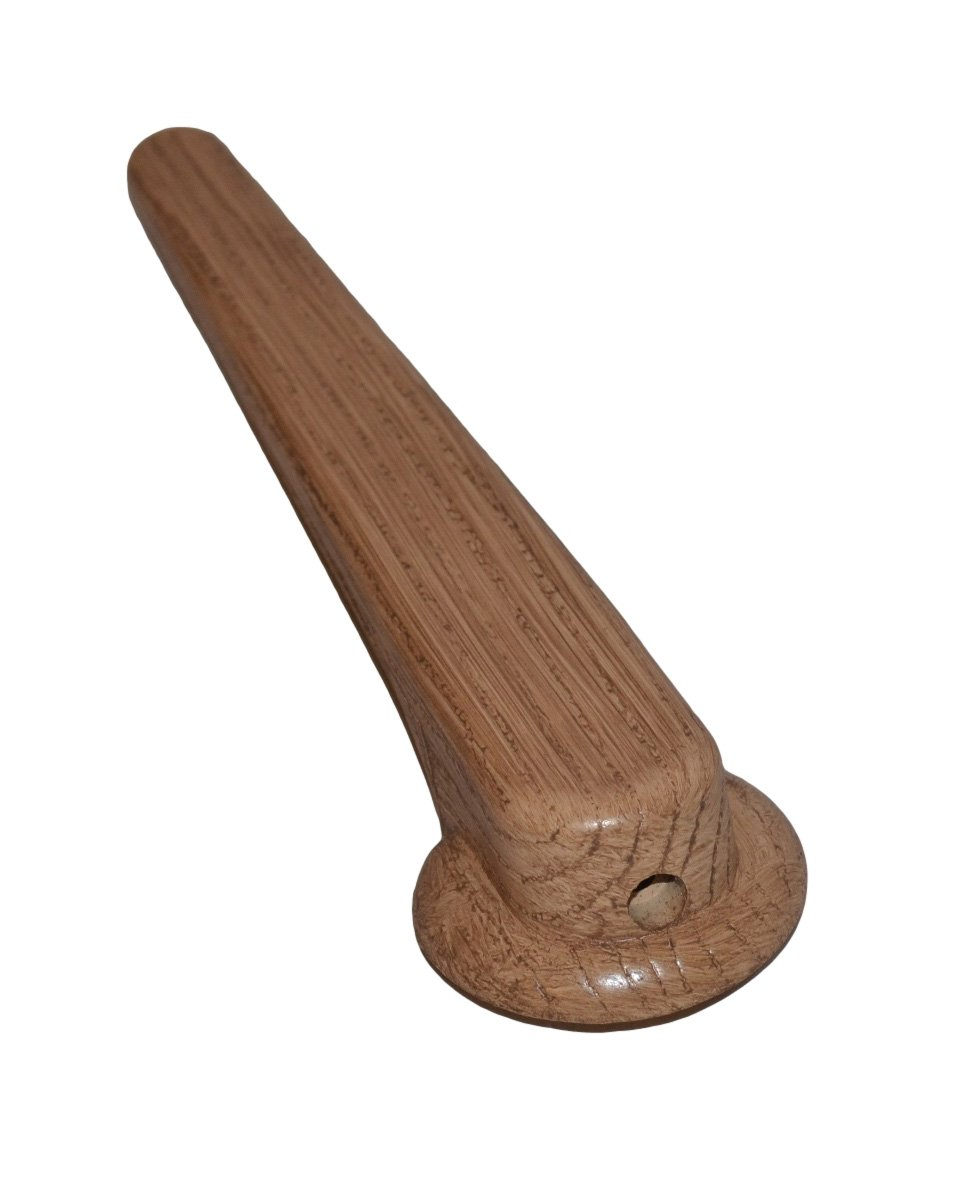
Image Source: barbados.desertcart.com
This recliner handle is durable and can withstand regular use because of its solid materials. It is also easy to replace, and you can do it whenever necessary.
2. The D-Ring Handles
If you want a comfortable experience operating your recliner, the D-ring recliner handle is just the thing for you. This handle is D-shaped and connected to a cable that allows you to adjust your recliner according to your choice.

Image Source: etsy.com
The D-ring handle is also referred to as the parachute-style handle. It operates similarly to a lawnmower; pull the cable to release the inner mechanism to recline your seat.
The D-ring recliner handles are strong, durable, and can withstand regular use for a long time. They are also easy to operate, replace, and install, and you don’t need any expert to fix it into your recliner.
3. The Flapper Handles
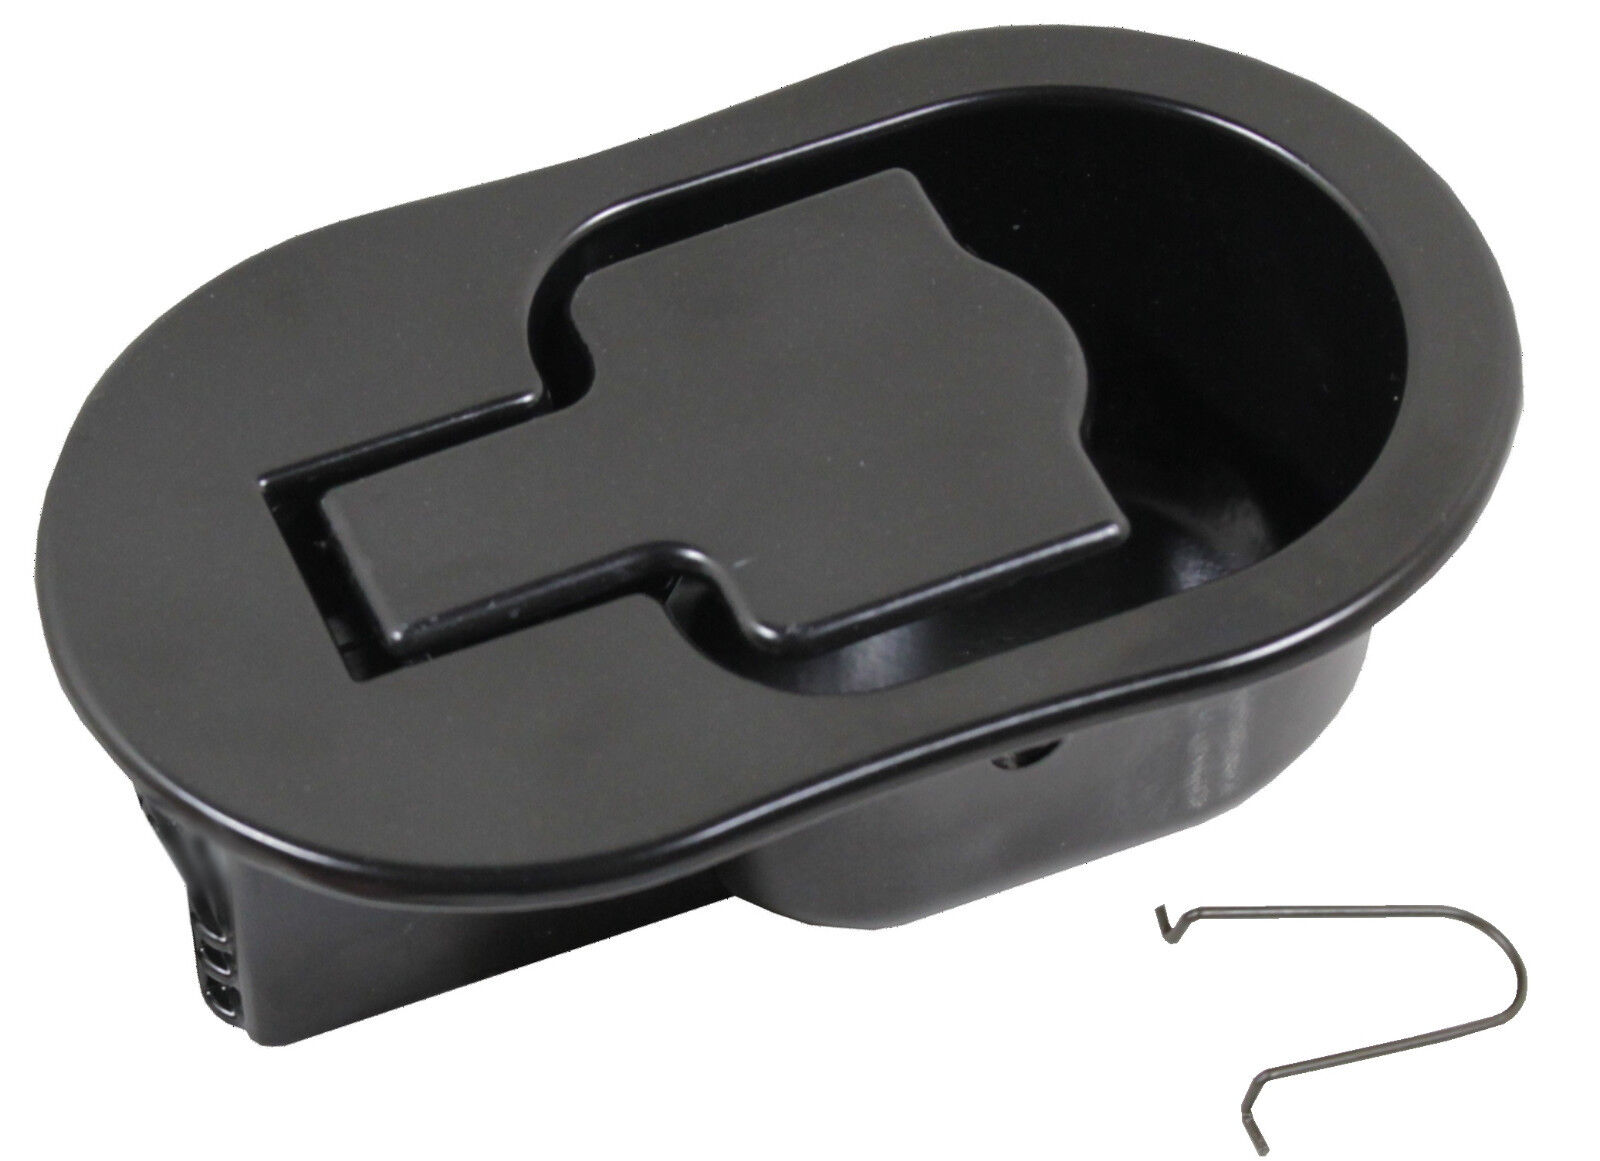
Image Source: ebay.com
The flapper handles are one of the most stylish handles. Their operation is slightly different from the D-ring and lever handles. These recliner handles are less noticeable than their counterparts because they’re fitted inside a recliner. Pull out the flaps from the inside using your fingers to recline your chair, and your seat will recline.
4. The Power Handles
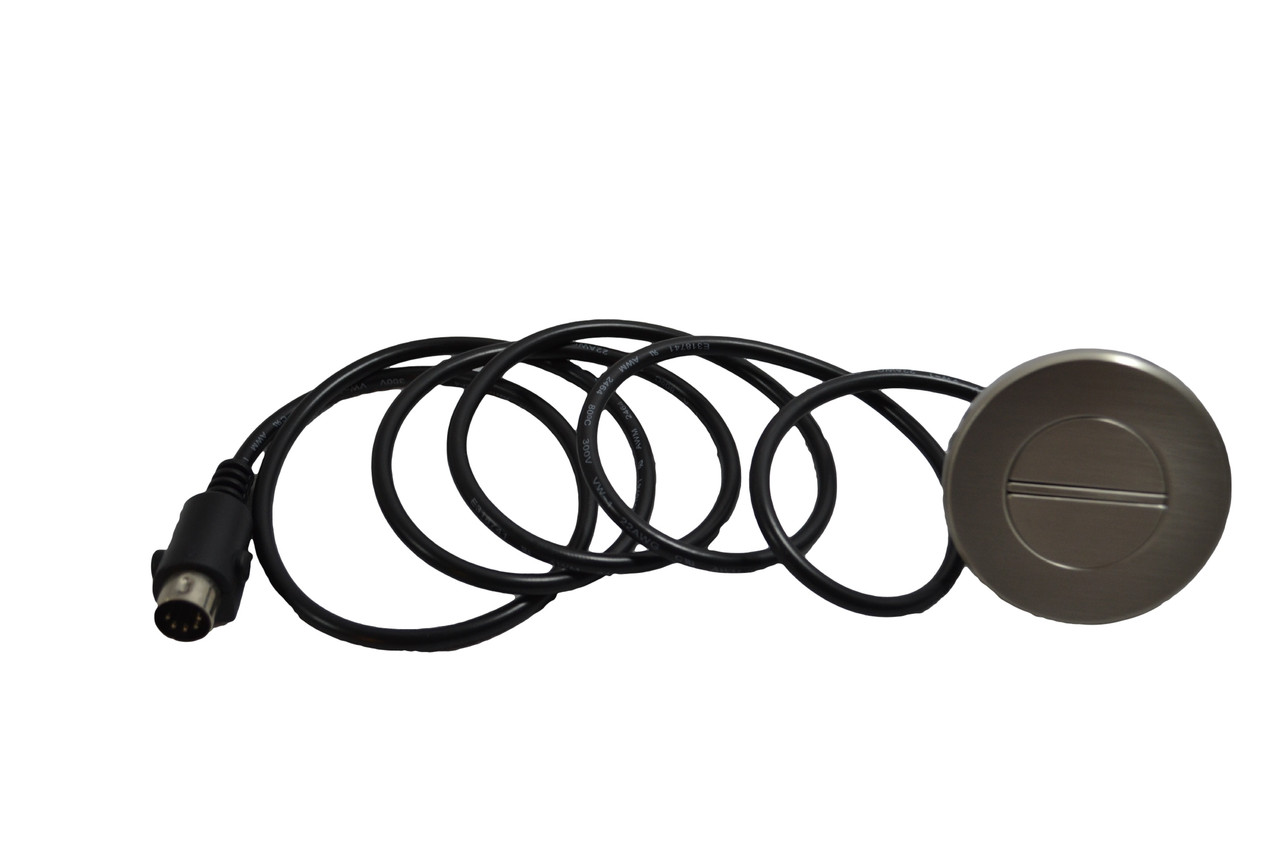
Image Source: recliner-handles.com
The power handle is found in a power recliner. It’s a switch or button that you press to recline your chair. It is easy to use and requires minimal effort. The power handle is also convenient since it allows you to adjust your recliner chair’s position without getting up. However, it is less durable than the lever-style handle and may require maintenance.
5. The Pull Handles
The pull handle is found in recliners that have a footrest. It is under the footrest and does not stick out like regular lever handles. Push your back against the backrest and pull the handle to recline your chair, and push it to bring the chair back to its original position. Pull handler is easy to use, durable, and can withstand regular use.
Fixing Recliner Handles
1. How to Fix Lever Handles
You don’t need next-level expertise or advanced-level tools to fix the lever handle recliner. You’ll only need a screwdriver and a new lever handle.
- Here are the steps to follow to fix the lever-style recliner handle
- Push your recliner chair forward to get its undersides exposed. Once the undersides are exposed, you’ll see your recliner’s mechanism.
- Locate the lever handle you pull to open your chair. It is screwed in place to your recliner chair.
- Use the screwdriver to unscrew the recliner lever handle and remove it. Ensure you keep the small screws safe and out of children’s reach so that you can use them later.
- At the same spot, you’ll also see a protective metal piece. Remove it from the recliner too.
- Place your new protective metal piece over the recliner mechanism, then put the new lever handle over it and hold them in place.
- Get your small screws back, and tighten them in the same place using your screwdriver. Do it carefully so that they won’t easily come off.
2. How to Fix D-Ring Recliner Handles
The D-ring recliner handles are harder to fix than the lever handles. Still, you can learn how to fix them without hiring any professional. You’ll require a screwdriver and a plier to fix the D-ring handles.
- Use the screwdriver to unscrew and remove the screws holding the D-ring handle in its place.
- Remove the D-ring handle and store the screws safely because you will use them later.
- Push the recliner forward to access its inner mechanism.
- Locate the cable end and carefully examine it. Every D-ring recliner handles cable connects to the mechanism release trigger at two places.
- The S-tip controls the tension of the recliner cable, and once you remove it, your cable will lose its tension.
- Use the pliers to remove the mechanism release clip, the second spot where the cable is connected.
- Once you remove the clips, pull out the cable from your recliner chair to remove it completely.
- Insert the new cable in place of the old one.
- Attach the new mechanism release clip at the same place you removed the old one
- Put the S-tip back in its spot and put the chair back up
- Put the new D-ring handle in the place where you removed the old one, and use the screws you initially removed to secure your new handles in place tightly
3. Fixing Flapper Handles
Fixing the flapper recliner handles also involves the cable mechanism under the flappers that will help you extend the recliner. Extending the recliner gives you better access to the screws. After expanding your recliner chair, follow these steps to fix the flapper handles.
- Once you’ve located the flapper handle screws, use a screwdriver to remove them and store them safely to use later.
- After removing the screws, you will easily locate the cable. Squeeze the cable base to loosen it, then pull it out of the recliner
- Insert the new cable and put the protective metal lid, then tighten them in place using the screws you initially removed.
4. How to Fix Power Handles
Here are the steps to follow to fix or replace power recliner handles.
- Flip the recliner over to access the handle.
- Unplug all the connections and plug them in, ensuring they’re plugged in correctly.
- Flip the recliner back down and test to see if the handle works properly. If it doesn’t work, try the next step.
- Plug in the replacement cable to the power supply and your recliner
- Test the recliner to see if it works. If it doesn’t move to the next step
- Flip your chair to check if the wand or switch is bad
- Unplug the round din plug from the base motor and the head tilt motor
- Plug in the new hand wand or switch buttons. Note that the long cable goes to the base motor, and the short goes to the head tilt motor
- Flip the chair back and test to see if it works. If it doesn’t work, the motor may be defective and needs to be replaced.
5. How to Fix Pull Handles
Fixing or replacing a pull handle for a recliner is easy, and you’ll need a screwdriver, pliers, and your replacement handle.
- Push your recliner forward to access the inner mechanism
- Locate the screws keeping the handle in place, remove them using a screwdriver, then store them in a safe place.
- Carefully pull the handle away from the recliner. Use pliers to pry it free if it is stuck.
- Once you’ve removed the handle, the cable linking it to the recliner should be visible. Carefully remove it from the recliner.
- Attach the new cable to the new handle and the recliner by following the manufacturer’s instructions
- Install the new handle using the screws you had removed and your screwdriver. Screw the handle in place but don’t tighten the screws too much.
Frequently Asked Questions on Recliner Handles
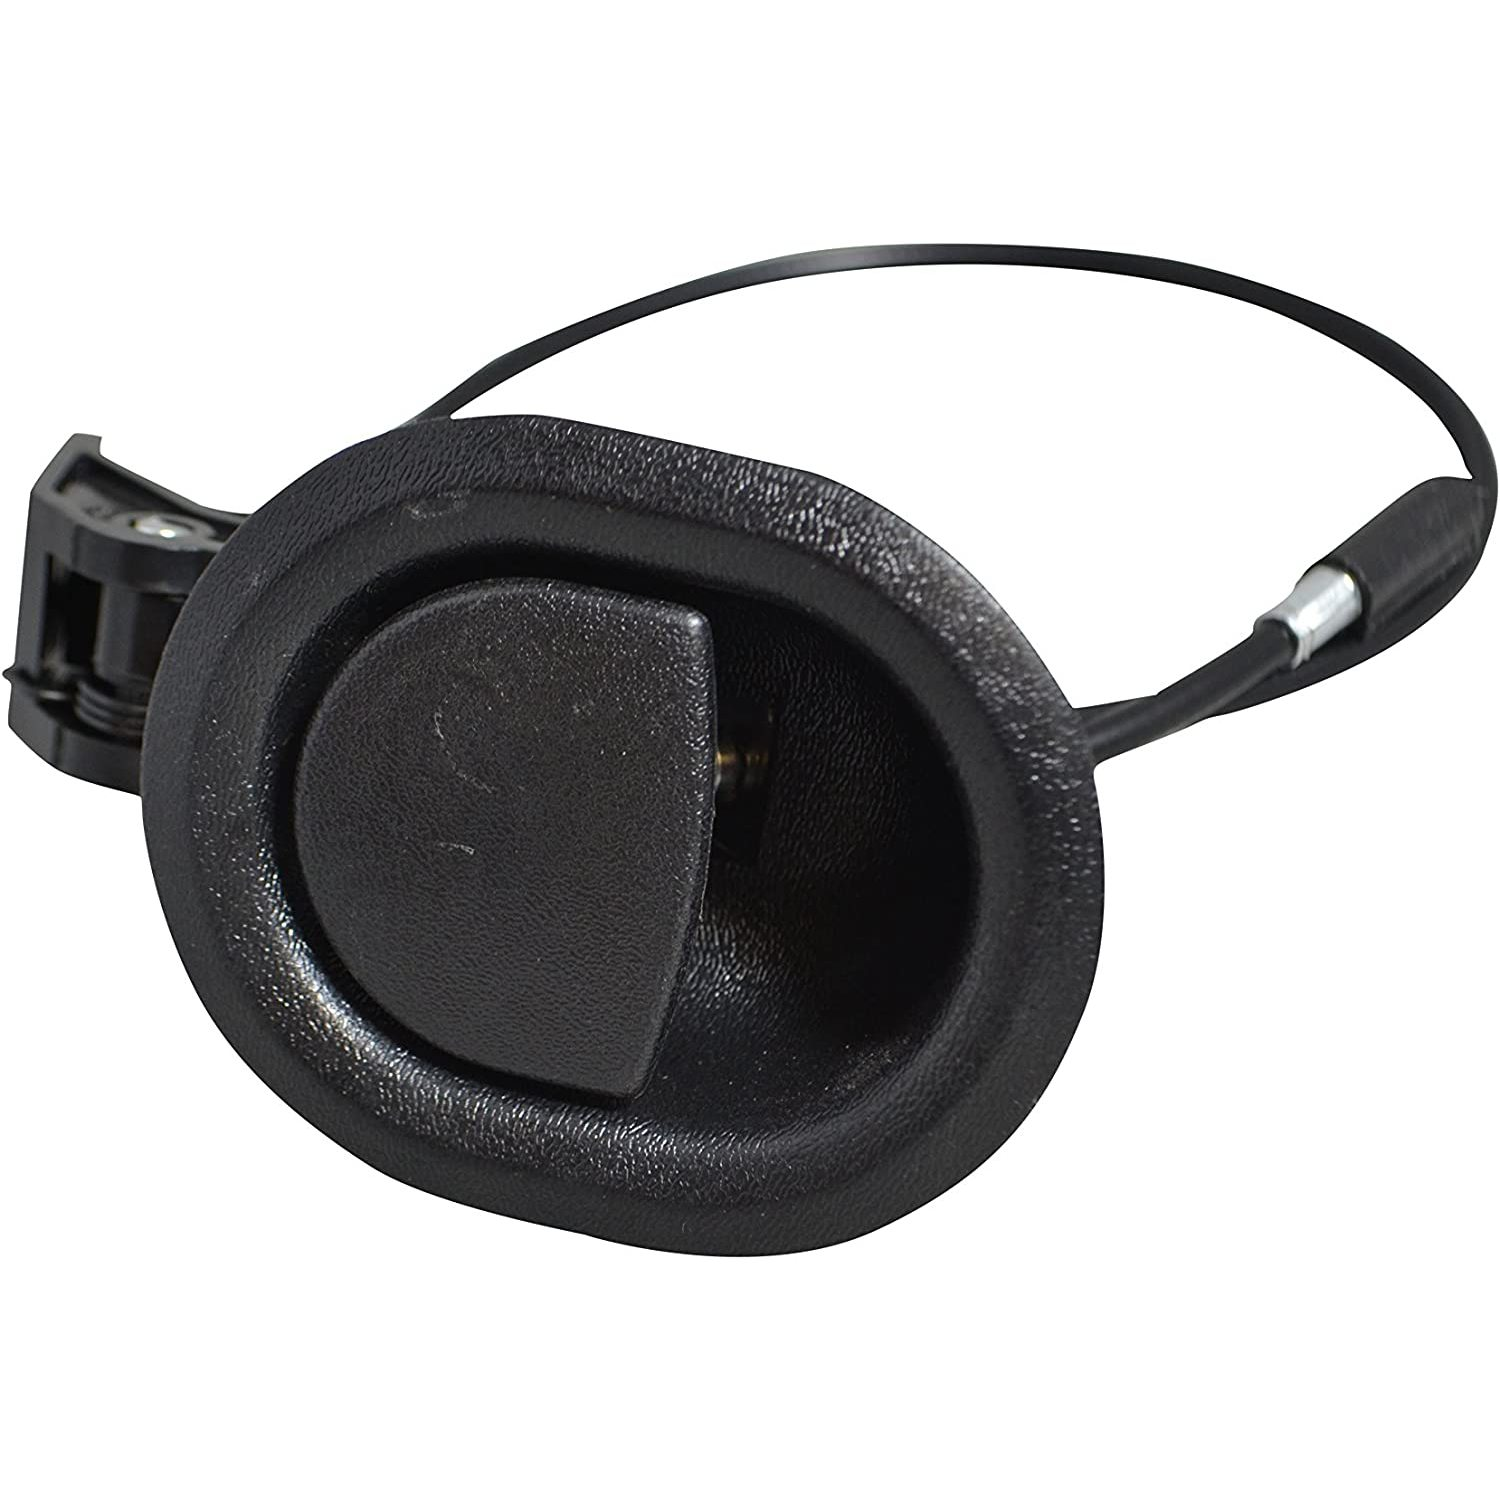
Image Source: walmart.com
1. Which recliner handle do you need?
The recliner handles you need will depend on your recliner and the type of handle you’re replacing. If you buy a lever-style handle for a D-ring handle recliner, it will not be compatible with your recliner, and obviously, it won’t work
2. How can you avoid breaking your recliner handle?
The recliner handle is the most frequently used part of any recliner chair. Regular use makes it prone to damage, but you can pull it gently to avoid breaking it. You can also invest in power recliners if you don’t want to deal with manual recliner handles!
3. What are recliner handles made of?
Recliner handles are made of different variety of materials. Typically, you’ll find that most handles come in metal, plastic, and wooden forms.
Conclusion on Types of Recliner Handles
Image Source: furnitureacademy.com
Several types of recliner handles are available, including lever-style, D-ring, power, flapper, and pull handles. Each type has its own functionality and usage, and the choice depends on the user’s preference and specific needs. If you decide to replace your old handle, ensure you buy the same type as the old one from reputable recliner parts manufacturers. Also, you don’t have to hire a professional to do the replacement for you. Our step-by-step guide will help you fix any recliner handle in a few minutes.